Chicken, Dumplings and Gravy

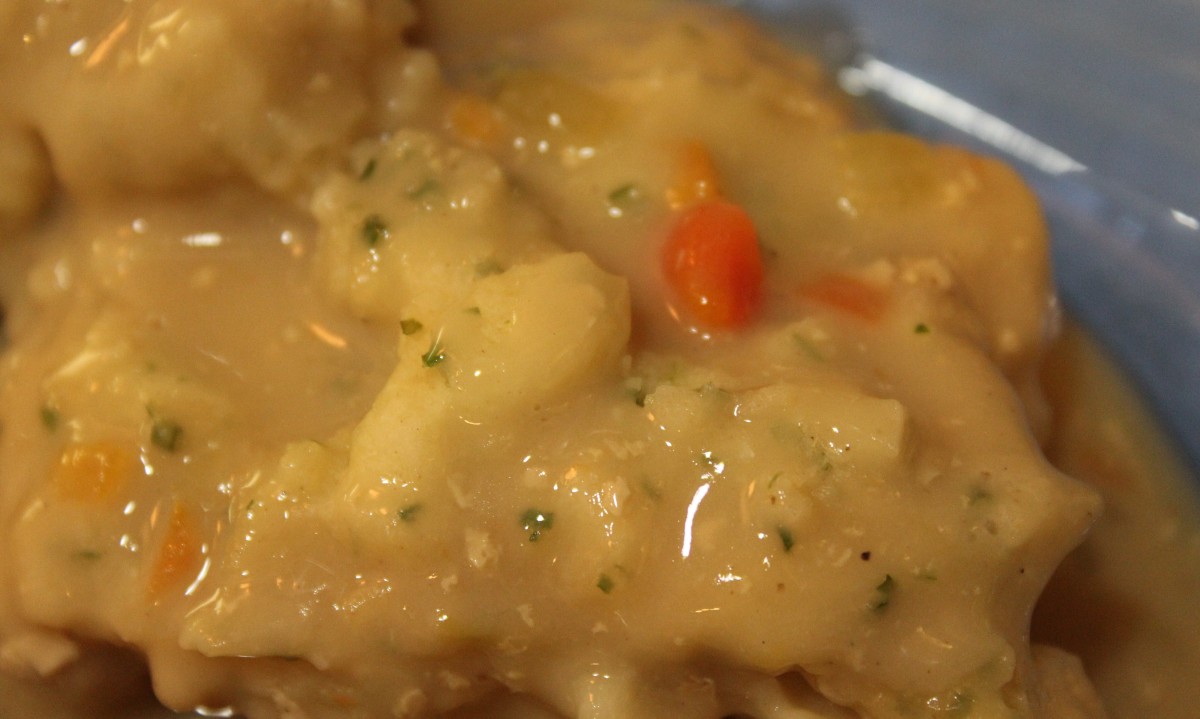
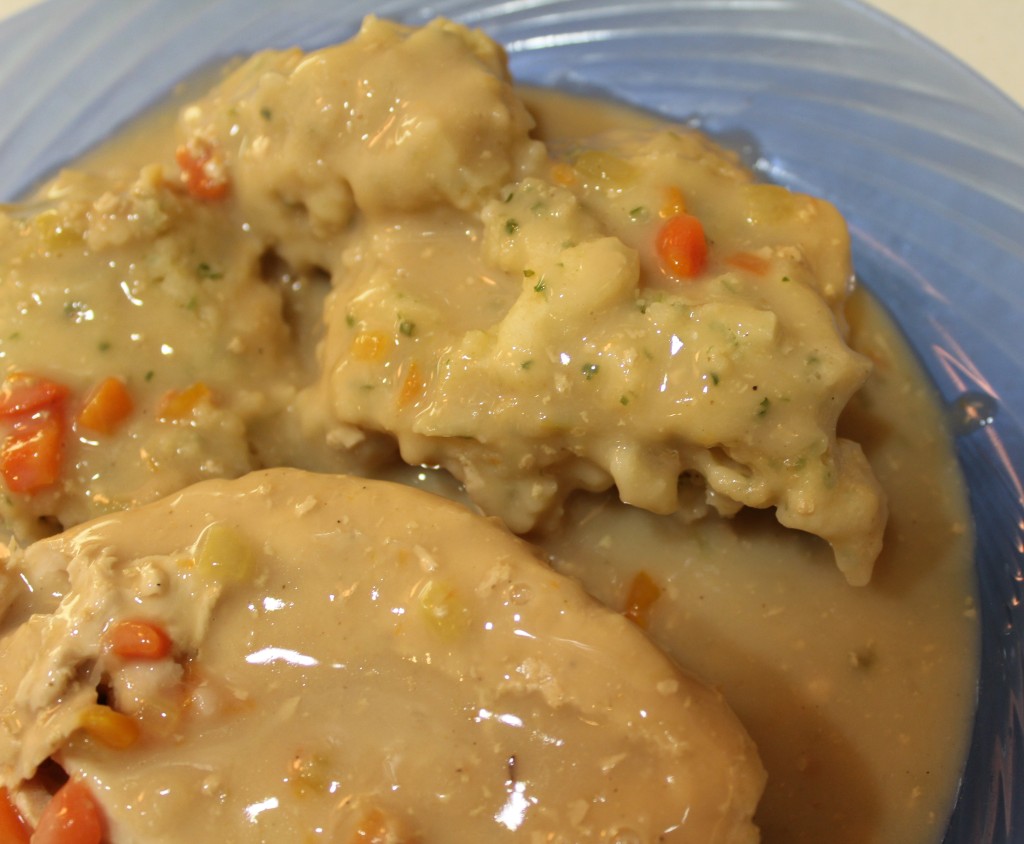
This is a great recipe for a chilly day.  I’ve changed up an old favorite to scale down for two to three people.  Let’s face it.  Leftover dumplings just aren’t any good.  I use reduced-sodium chicken broth so the gravy doesn’t get too salty.  Generally, I add a good sprinkle of salt to my plate.  It’s easier to add a little salt rather than have the whole batch too salty.

Chopped onions, celery, carrots

2-3 boneless skinless chicken breasts
2 each, 14.5 oz. cans chicken broth
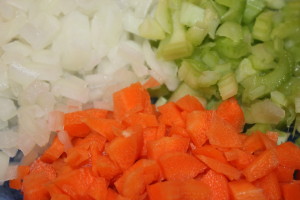
½ cup chopped onion
½ cup chopped celery
½ cup chopped carrots
⅛ teaspoon black pepper
¼ teaspoon celery salt
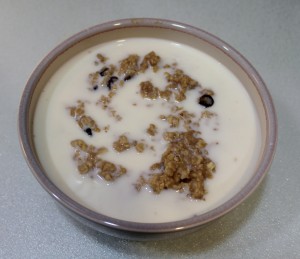
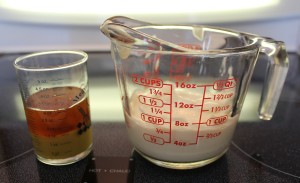
Veggies and seasonings added to pan

1 cup milk
½ cup all purpose flour
Splash of Kitchen Bouquet

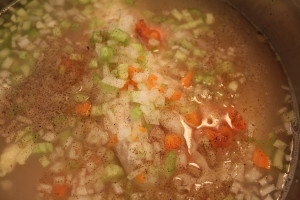
Put chicken in 5-6 qt. pan or stock pot.  Add broth, onion, celery, carrots and seasonings.
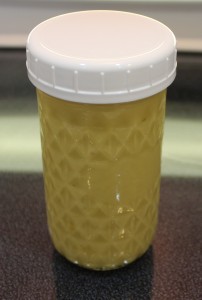
Bring to a boil.  Cover and reduce heat to medium low and simmer about an hour until chicken is tender.  If you use frozen chicken breasts, simmer about 1 ½ hours. Remove chicken from broth, put on plate.  Cover with the pan’s lid to keep warm.  Turn up the burner to medium high and bring the broth to a boil.  While it’s heating, put milk and flour in a pint jar and shake vigorously until mixture is smooth – no lumps.

Slowly add to the boiling broth.  Stir constantly with a whisk while returning it to a boil for 3 minutes.  Reduce heat to medium low and continue stirring for 5 minutes to cook the flour until the gravy begins to thicken slightly.  Add a generous splash of Kitchen Bouquet for a little flavor and to give the gravy a nice golden color. Stir well. Return chicken to the pan.

Dumplings starting to cook.

Chive Dumplings
1 cup flour
1 ½ teaspoons baking powder
½ teaspoon salt
1 tablespoon dried chives
⅛ cup (2 tablespoons) shortening or butter
½ cup milk

Using a pastry blender, cut in the shortening until well blended.  Add milk and stir as little as possible to make dough.

Dumplings are done.
Yippee! Dumplings are done.

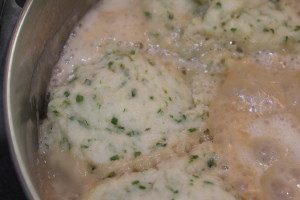
Drop by tablespoons on top of the chicken pieces.  Simmer 10 minutes uncovered.  Put the lid on and simmer another 10-15 minutes or until dumplings are cooked and no longer doughy.  It may scorch a little, but don’t reduce the heat.  Otherwise, it will take forever to get the dumplings cooked.

Serve at once.

Chicken, Dumplings and Gravy Ready to Eat
Ready to Eat


©2016, My Granny Rocks | Janette Thornton. All rights reserved.

Granny’s Pork and Beans

My sister, Velma, was the queen of ‘doctoring up’ canned goods.  Having eight children, she was an expert at preparing quick and hearty meals to feed everyone.  I learned so much from her while hanging out in her kitchen…so many fond memories.  Okay, back to the beans.

I start with a can of plain, old, cheap, pork and beans – any brand works. (There’s never any pork in them anymore anyway.)  I pour off the liquid on top, then dump in a pan.  The measurements are approximate.

Granny's Pork and Beans
Granny’s Pork and Beans

I add the following:

1     teaspoon yellow mustard (or ¼  teaspoon dried mustard)
1     tablespoon catsup or ketchup, depending on where you live
1     tablespoon brown sugar
½   tablespoon dried, minced onions

Mix well, heat and eat. If you feel like beanie wienies, thinly slice a hot dog and toss it in. Be sure to heat long enough to thoroughly cook the hot dog.


Granpa’s Oatmeal

Granpa Ken
Granpa Ken

Okay. Let’s face it…it’s hard to make oatmeal photogenic. I did the best I could with it. So here’s my photogenic better half, Granpa Ken.

After several years of buying the instant oatmeal packets, Granpa came up with the following recipe for his morning oatmeal. He prepares jars of the dry ingredients ahead of time, so all he has to do is grab one for a quick hot breakfast.

From time to time, he changes it up with Craisins instead of raisins, all-spice instead of cinnamon, pecans in place of walnuts. You get the idea. Start with ½ cup of oats and add what you like.

Granpas Oatmeal
Granpas Oatmeal with Milk


½ cup quick oats
½ teaspoon brown sugar
¼ teaspoon cinnamon
1 tablespoon raisins
1 tablespoon chopped walnuts
1 tablespoon chopped dates
1 cup water
Splash of milk to taste


He heats the water using a measuring cup in the microwave for 2 minutes. Then, he adds it to the cereal bowl and mixes well. His next step is returning it to the microwave to finish cooking for about 35 seconds. Of course, cooking times depend on the wattage of your microwave.

Sometimes, he also uses old-fashioned oats for a little more chewy texture oatmeal. Actually, it depends on which kind of oats I have in the pantry.


Honey Mustard Sauce

We eat a lot of chicken at my house. This honey mustard sauce compliments fried, baked, and even grilled chicken. The amount I make depends on how many are showing up to eat. I’ve listed several quantity variations below. This also makes a wonderful, light salad dressing for your dinner salad, too. This is an old recipe with only four ingredients. I like recipes that are made with things I normally keep on hand. Can’t get much easier than this for a great tasting dipping sauce. It’s good on chicken sandwiches, on salad, it’s just plain good!

Easy to measure
Easy to measure

¼ cup mayonnaise
1 tablespoon prepared mustard
1 tablespoon honey
½ tablespoon lemon juice

In a liquid (glass) measuring cup or small bowl, mix the first three ingredients with a fork or small whisk. When thoroughly blended, stir in lemon juice. Store tightly covered in refrigerator. [I believe it will keep a week or two. We always use it up, so I’ve never tested how long it actually lasts.] If you want it a little thinner for salad dressing, add a bit more lemon juice to desired consistency.

Yields <½ cup.

Stored in a canning jar of course!

DOUBLED
½ cup mayonnaise
2 tablespoons prepared mustard
2 tablespoons honey
1 tablespoon lemon juice

Yields ¾ cup.

TRIPLED
¾ cup mayonnaise
3 tablespoons prepared mustard
3 tablespoons honey
1½ tablespoons lemon juice.

Yields 1 cup.


Sweet Cornbread Muffins

A long time ago, I discovered this recipe on the back of a box of cornmeal. You can get the best recipes from the packaging. I like a sweet cornbread. These are almost a cupcake. When I went to school, the cafeteria often served cornbread and syrup for lunch. Of course, this was back in the day when the food was prepared onsite by real lunchroom ladies in their white uniforms and hairnets.

Liquid ingredients
Liquid ingredients

1 ½ cups all-purpose flour
2/3 cup white granulated sugar
½ cup yellow corn meal
1 tablespoon baking powder
½ teaspoon salt
1¼ cups milk
2 large eggs, lightly beaten
1/3 cup vegetable oil [I use olive oil]
3 tablespoons butter, melted

Preheat oven to 350° F. Grease or paper-line 18 to 20 muffin cups. I get all the ingredients out before I start cooking. As I add the ingredient, I put it back away. I do this so I don’t forget anything as I’m easily distracted. On the farm, we always broke our egg in a small bowl before adding it as sometimes they weren’t good. Well, I’m back to doing that again after I’d gotten a bad batch of eggs at a local grocery store. I’ve thought about getting a few chickens, but I’d spend more in chicken scratch than I do for eggs, so it’s not feasible at this time. See? I do get easily distracted…okay back to the recipe.

Use a ladle to put in tins.

Combine flour, sugar, corn meal, baking powder and salt in a medium-sized mixing bowl. Combine milk, eggs, oil and butter in small bowl. I measure the milk in a two-cup liquid measuring cup; then add the other liquid ingredients as I measure them. Mix well. Add to flour mixture; stir/whisk until blended. I use a ladle to put the batter in the muffin pan, filling each about 2/3 full.

018
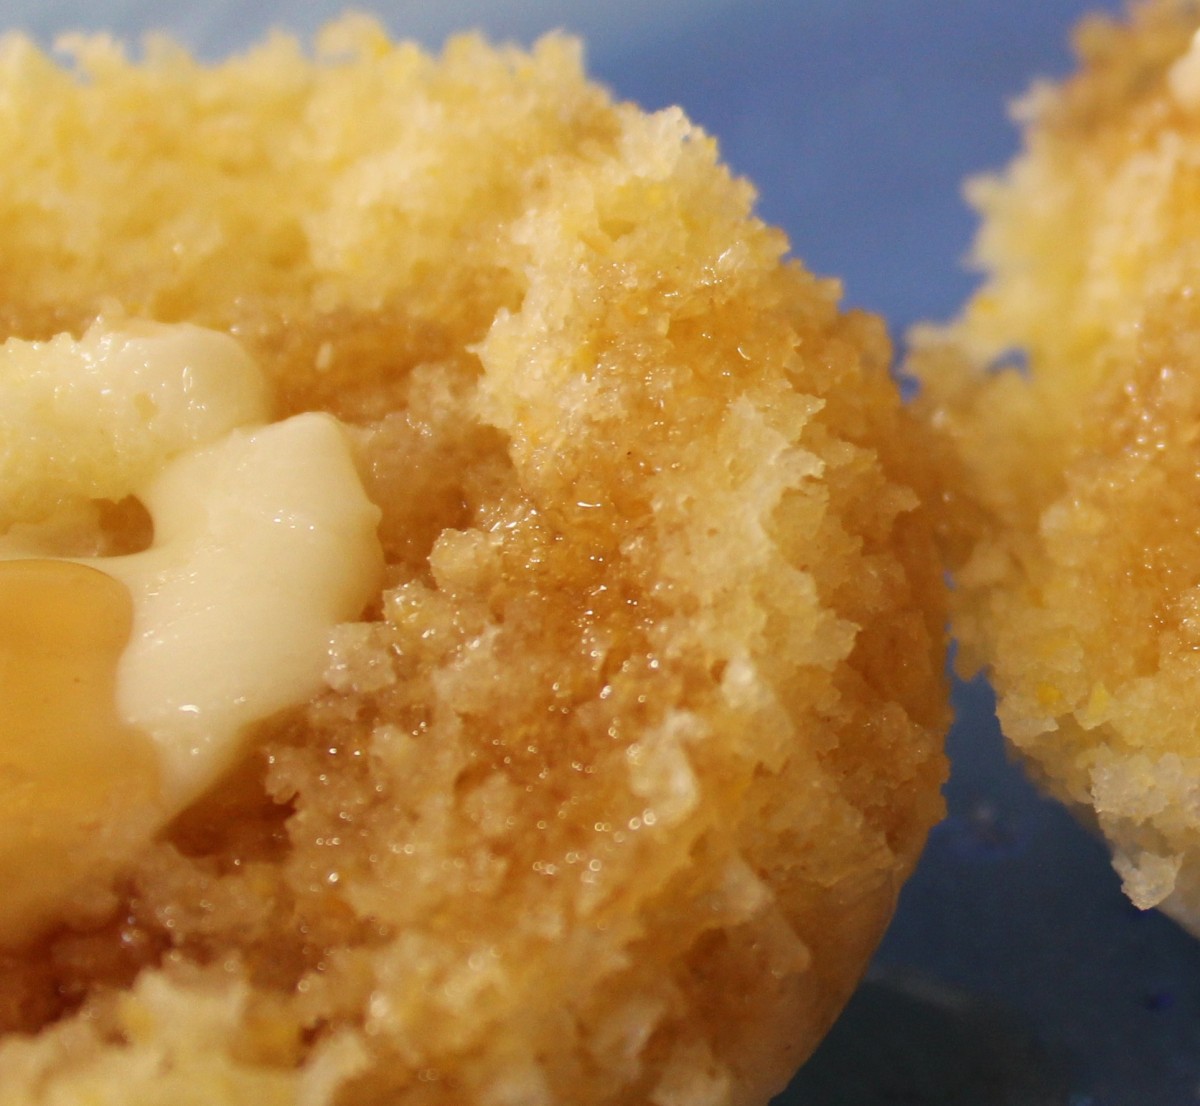
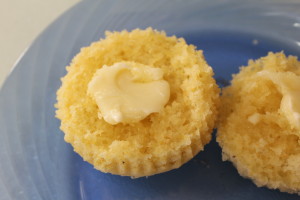
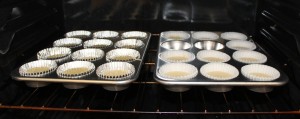
Bake for 18-20 minutes or until a wooden toothpick inserted in the center comes out clean. (Yes, I’m using brand new muffin tins, a wonderful gift I received this last Christmas from my son.) When you put the pans in the oven, be sure to leave spaces around the edges and center to allow the heat to circulate evenly. Cool in pans on wire racks for 5 minutes; then remove muffins to wire racks to cool slightly. Serve warm or store tightly covered when cool.
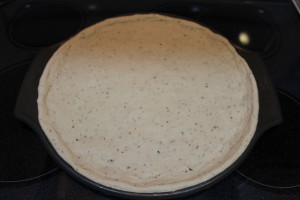
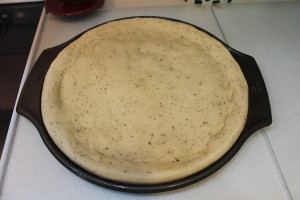
Perfection
Perfection
Buttered & ready to eat

Easiest Macaroni Salad Ever

Coat every piece!
Coat every piece!

There’s hundreds of macaroni salad recipes out there.  This is truly the easiest.  It’s something I tried one day and, believe it or not, my family ate it!  I started with a few handfuls of pasta.  [You can use any kind you have on hand.]  Cook as directed on the package.  Rinse well with cold water to stop the cooking process.  Let drain.

Can't wait to dig in.
Can’t wait to dig in.

Finely chop a little bit of whatever your family likes to eat – carrots, dill pickles, celery, onion, black olives and mix with the pasta.  Add enough ranch dressing to coat everything and mix well.  [I always make my ranch dressing fresh.  I have no use for bottled ranch dressing, regardless of brand; it doesn’t even taste like ranch.]

Chill an hour or so and it’s ready to eat.

The kids love it because of the ranch dressing.

I love it because they eat it.

Double Chocolate Brownie Cookies

For the life of me, I can’t make brownies – from scratch or even with a mix!  The edges are dry and hard.  The center of the pan is gooey.  I’d given up until I came across this recipe.  As with all cookies, I bake the minimum time and let them finish cooking on the cookie sheet a couple minutes.

Preheat oven to 350°.
1 ¼ cup butter flavored Crisco001
2 cups white granulated sugar
2 eggs
2 teaspoons vanilla extract
2 ¾ cups all-purpose flour
¾ cup cocoa
1 teaspoon baking soda
½ teaspoon salt
2 cup chocolate chips (12 oz.)

Cream shortening and sugar together until fluffy. Stir in vanilla; then add eggs one at a time, beating well after each egg.

Stir together flour, cocoa, baking soda and salt. [or put the dry ingredients directly in the mixing bowl and you have one less bowl to wash.] Add to creamed mixture. Mix well. Stir in chocolate chips.

Drop by spoonfuls about 2” apart on cookie sheet. Don’t 004flatten.

Bake 8 to 9 minutes in 350° oven.

Makes a soft, brownie-like cookie.

Crusty Pizza Dough – Thick & Chewy

*Original recipe courtesy of Instructions and Recipes for your Kitchenaid Stand Mixer, 9709785 rev.D

Ready to prebake for 3 minutes

1 package active dry yeast
(2 ¼ teaspoons) room temperature
1 teaspoon sugar
1 cup warm water (105° F to 115° F)
½ teaspoon salt
2 teaspoons olive oil
2 ½ to 3 ½ cups all-purpose flour

Dissolve yeast and sugar in warm water.  Let rest 5-10 minutes to allow the yeast bloom.  [Bloomed yeast looks frothy.]  Add salt, olive oil and 2 ½ cups flour.  Mix with dough hook on speed 2 about a minute.

Continuing on speed 2, add remaining flour, ½ cup at a time, and mix until dough clings to hook and cleans sides of bowl, about 2 minutes.  Knead on speed 2 about 2 minutes longer.

Place dough in greased bowl, turning to grease top.  Cover with lightweight dish towel.  Let rise in warm place free from draft about an hour or until doubled in bulk.  (I set the oven on the lowest setting a few minutes to warm up, then turn off & put dough in.)  Check after 45 minutes if using rapid rising yeast.

Punch dough down.

Brush large pizza pan with shortening. Press dough across bottom of pan, forming a collar around edge to hold toppings.  [Dough can be divided evenly between two smaller pans.  Freeze one pan after prebaking for a quick pizza at another time.]

Prebake crust for 3 minutes.  Add toppings as desired.  Bake at 450° for 15 to 20 minutes.  (Check after 12 minutes.)

Crust after prebaking

Granny’s Changes
For stuffed crust, cut cheese sticks in half and place around perimeter, covering with the excess dough around the edges.

Use leftover spaghetti sauce in place of tomato sauce.

Cut ham lunchmeat in half and use as a topping, too.

Italian Flavored Crust
Add with first flour addition,
½ teaspoon oregano
½ teaspoon basil
2 teaspoons fresh minced garlic


Okay.  I’ve tried everything to get the Amazon links to line up.  Arrgg.  I don’t know what I’m doing wrong, so you have to scroll down to see them.


Spicy/Sweet Meatballs

This is another quick and easy recipe. When I first looked at it, I saw cranberry jell and went yuck.  The chili sauce caught my attention, so I gave it a try.  It’s a keeper.  I waited until after my grandson said he liked them before I told him what was in it.  (He’s not a fan of cranberry jell either.)  I put my little scoop to use on these to make mini-meatballs that fit perfectly on a cracker. We like these with garlic Ritz crackers and cheddar slices.

Out of oven, ready for saucepan

MEATBALLS
2 lbs. lean hamburger
1 cup dried bread crumbs
2 eggs, slightly beaten
2 tablespoons soy sauce
¼ teaspoon black pepper
½ teaspoon garlic powder
1/3 cup catsup

Spicy/Sweet Meatballs

SAUCE
1 can jellied cranberry sauce (16 oz.)
1 bottle chili sauce (12 oz.)
2 tablespoons brown sugar
1 tablespoon lemon juice

Preheat oven to 350°.

Mix together hamburger, bread crumbs, eggs, soy sauce, pepper, garlic powder and catsup.  Form into small balls and bake on rack on cookies sheet for 30 minutes.

In saucepan over low heat, combine cranberry sauce, chili sauce, brown sugar and lemon juice.  Simmer and stir until smooth.  Add meatballs and simmer for 1 hour or put meatballs on plate and pour warm sauce over them.

Serve fresh or freeze these on a cookie sheet.  When frozen, put in bag for quick meatballs anytime.  I’m a huge fan of making your own frozen meals.

HALF RECIPE
1 lb. hamburger
½ cup dried bread crumbs
1 egg, slightly beaten
1 tablespoon soy sauce
⅛ teaspoon black pepper
¼ teaspoon garlic powder
3 tablespoons catsup

Make all of sauce recipe and freeze half for next time.

Creamy Chicken Enchiladas

This easy recipe turns two chicken breasts into enough to feed a family of four.  I like it because you can use raw chicken breasts or leftover chicken.  It’s really good if you have leftover grilled chicken, too.  It’s mild enough the kids will eat it, yet has enough flavor to satisfy the adults, too.  If you want it hotter, just add jalapeños to the meat while you’re cooking it.  My secret ingredient is a splash or two of mesquite smoke flavoring added to the chicken.  For just my husband and I, I divide this into two square baking pans and freeze one.  Be sure to let it thaw in the frig the day you plan on baking it.  If you put it directly in the oven from the freezer, you’d probably end up with petrified tortillas on the bottom.  

CREAMY CHICKEN ENCHILADAS

Enhilada Filling
Enhilada Filling

1      10.75 oz can cream of chicken soup
16    oz sour cream
¼    teaspoon cumin
¼    teaspoon cilantro leaf
½    teaspoon garlic, minced
Dash  cayenne pepper
2      tablespoons olive oil
2      chicken breasts, chopped in ¼” – ½” cubes
1      medium onion, chopped

1      tablespoon mesquite liquid smoke
½    tablespoon chili powder

Ready to Roll
Ready to Roll

1      teaspoon garlic, minced
½    teaspoon cilantro leaf
¼    teaspoon cumin
¼    teaspoon salt
1      4 oz can green chili peppers,
chopped or diced
10     soft taco size flour tortillas
10     cheddar cheese slices or about 2½ cups shredded cheddar
½    cup cheddar cheese, shredded

Ready to Sprinkle with Cheese

Preheat oven to 350.  Combine 1st six  ingredients in 1 qt. bowl.  Set aside.
Heat oil in frying pan over medium heat.  Add chicken.  Saute a few minutes.  Add onion, chili powder, garlic, cilantro, cumin and salt.  Continue cooking until onion is tender and chicken is cooked.  Add green chilis.  Cook and stir until heated through.

Lightly grease the baking pan.  Thinly spread about ½ cup of the soup mixture in 13x9x2 baking pan.  Place cheese slices or shredded cheese on tortillas.  Spoon 2-3 tablespoons of the meat mixture on each tortilla.  Roll up tortillas and place, seam-side down, in the baking dish.  Spoon remaining soup mixture on top and sprinkle with ½ cup shredded cheese.

Cover with tin foil.  Bake 30 minutes.  Remove foil, continue baking until bubbly and lightly browned.