It’s been another week of high winds and daily watering. One lonely green bean is growing, so I’m going to try soaking the seeds before putting them in the ground. I’ll let you know how that works out.
Not a single carrot sprout yet, so I’m going to replant using a different seed pack. Perhaps I bought a bad bag of seed? Other than that, not much happening, watching and waiting.
Spinach is growing nicely.Tomato plant is still handing on.Lettuce is doing well.Onion patchOnions and radishesSalad section
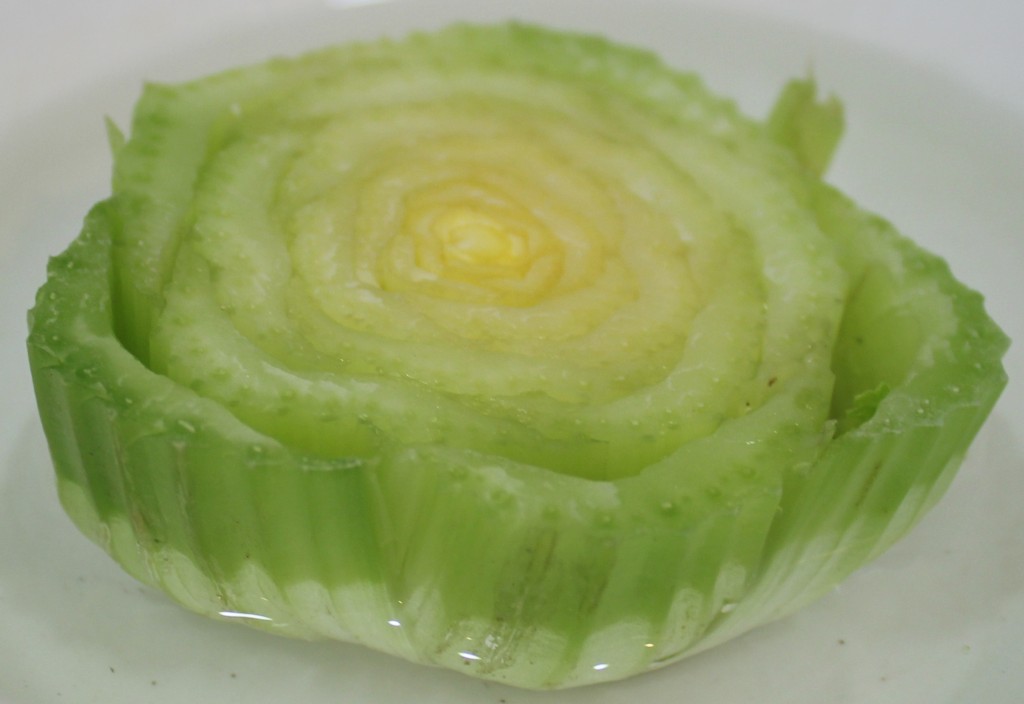
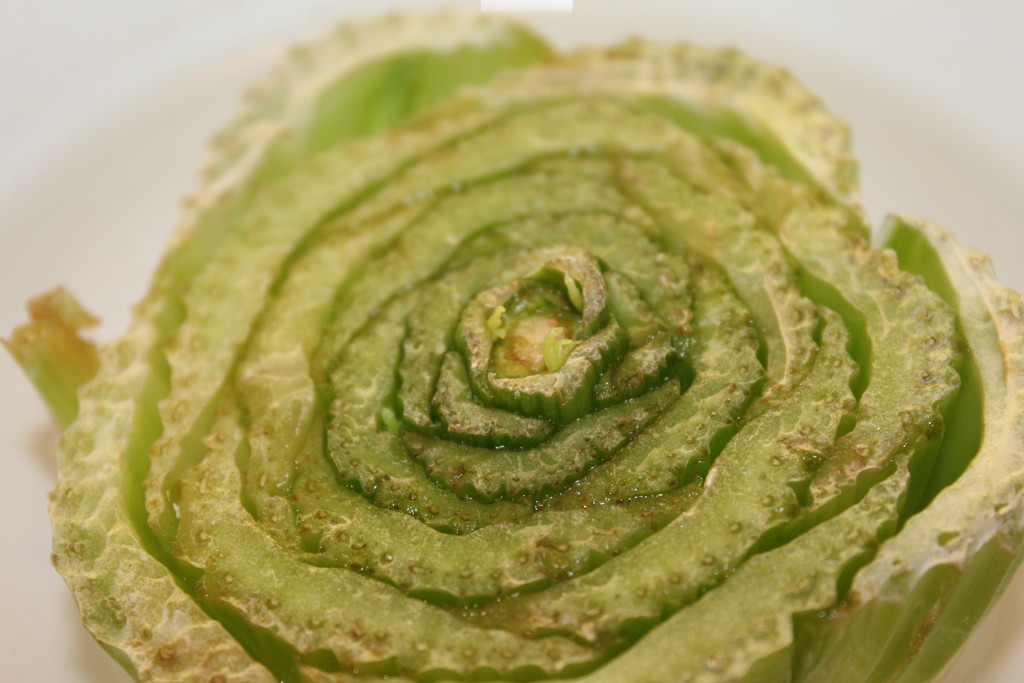
This is my latest experiment. I’ve seen articles about re-growing various vegetables, so I thought I’d give celery a try. I’ll update this as the weeks pass. It’ll be interesting to see if it actually works or not. I began with cutting about 1″ from the bottom of a celery bunch. I ran water over it and placed in a bowl with about ½” of water. I change the water daily, and rinse from the top down to get water between the stalk bases. The bowl rests on the windowsill of an East window.
Here I go
Day 1 – Will this work?
One week has passed
Celery after one week – It looks like it has the potential to grow.
Two weeks have passed
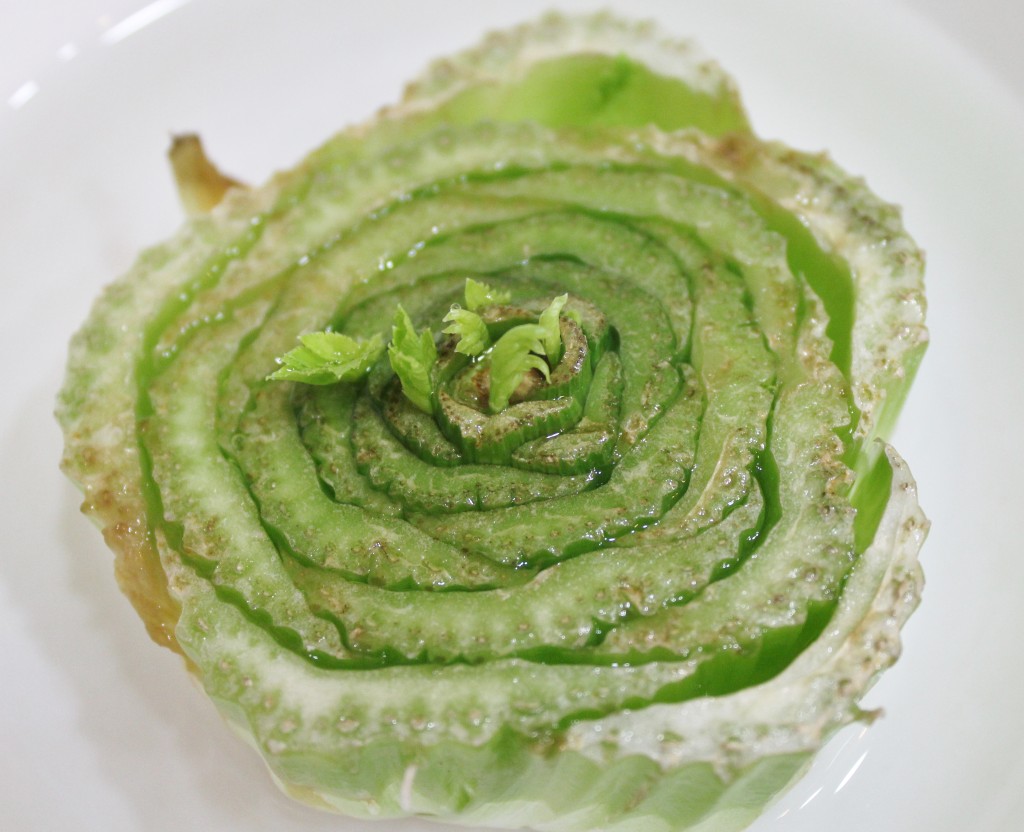
Celery after two weeks – Yippee! A few sprouts are starting.
Online I’ve been noticing a way of baking your eggs in a muffin tin. I haven’t tried that method yet. I seldom need that many hard boiled eggs at once, so I think I’ll stick to the old fashioned way of boiling on the stove top.
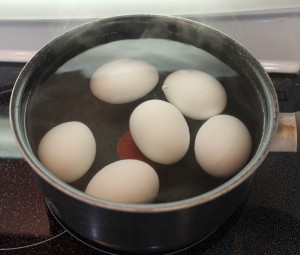
Place 4 to 6 eggs in a 2-quart saucepan. Fill pan with cool water to about a ½” from the top of the pan. There should be 1″ to 2″ of water on top of the eggs. Bring water to a boil over medium high heat. Once the pan is boiling, remove from heat and cover.
Cover pan and let sit.
Let eggs sit for 25 minutes.
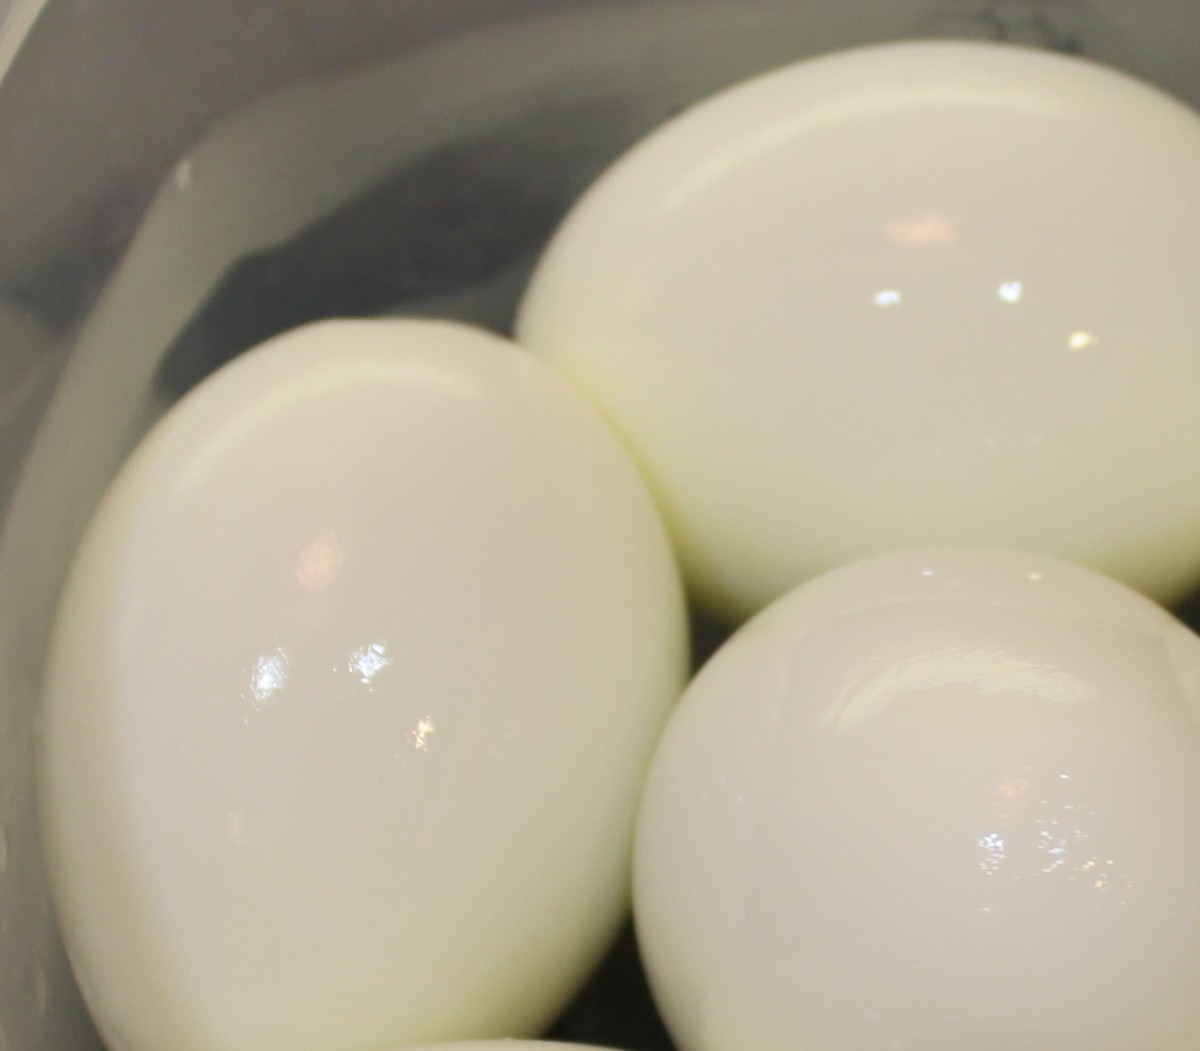
Drain water and fill pan with cold water. Gently break the eggshells and peel under running cold water. Store eggs tightly covered in refrigerator.
That’s it folks, bring to a boil and let them sit. Can’t get any easier than that.
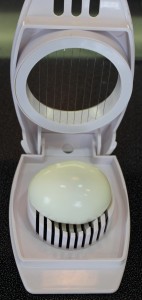
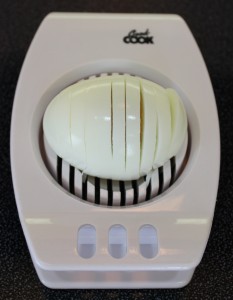
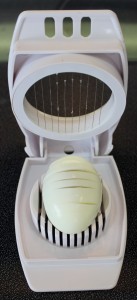
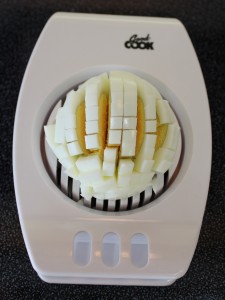
Slicing and dicing eggs is a breeze with a slicer. Follow the pictures below:
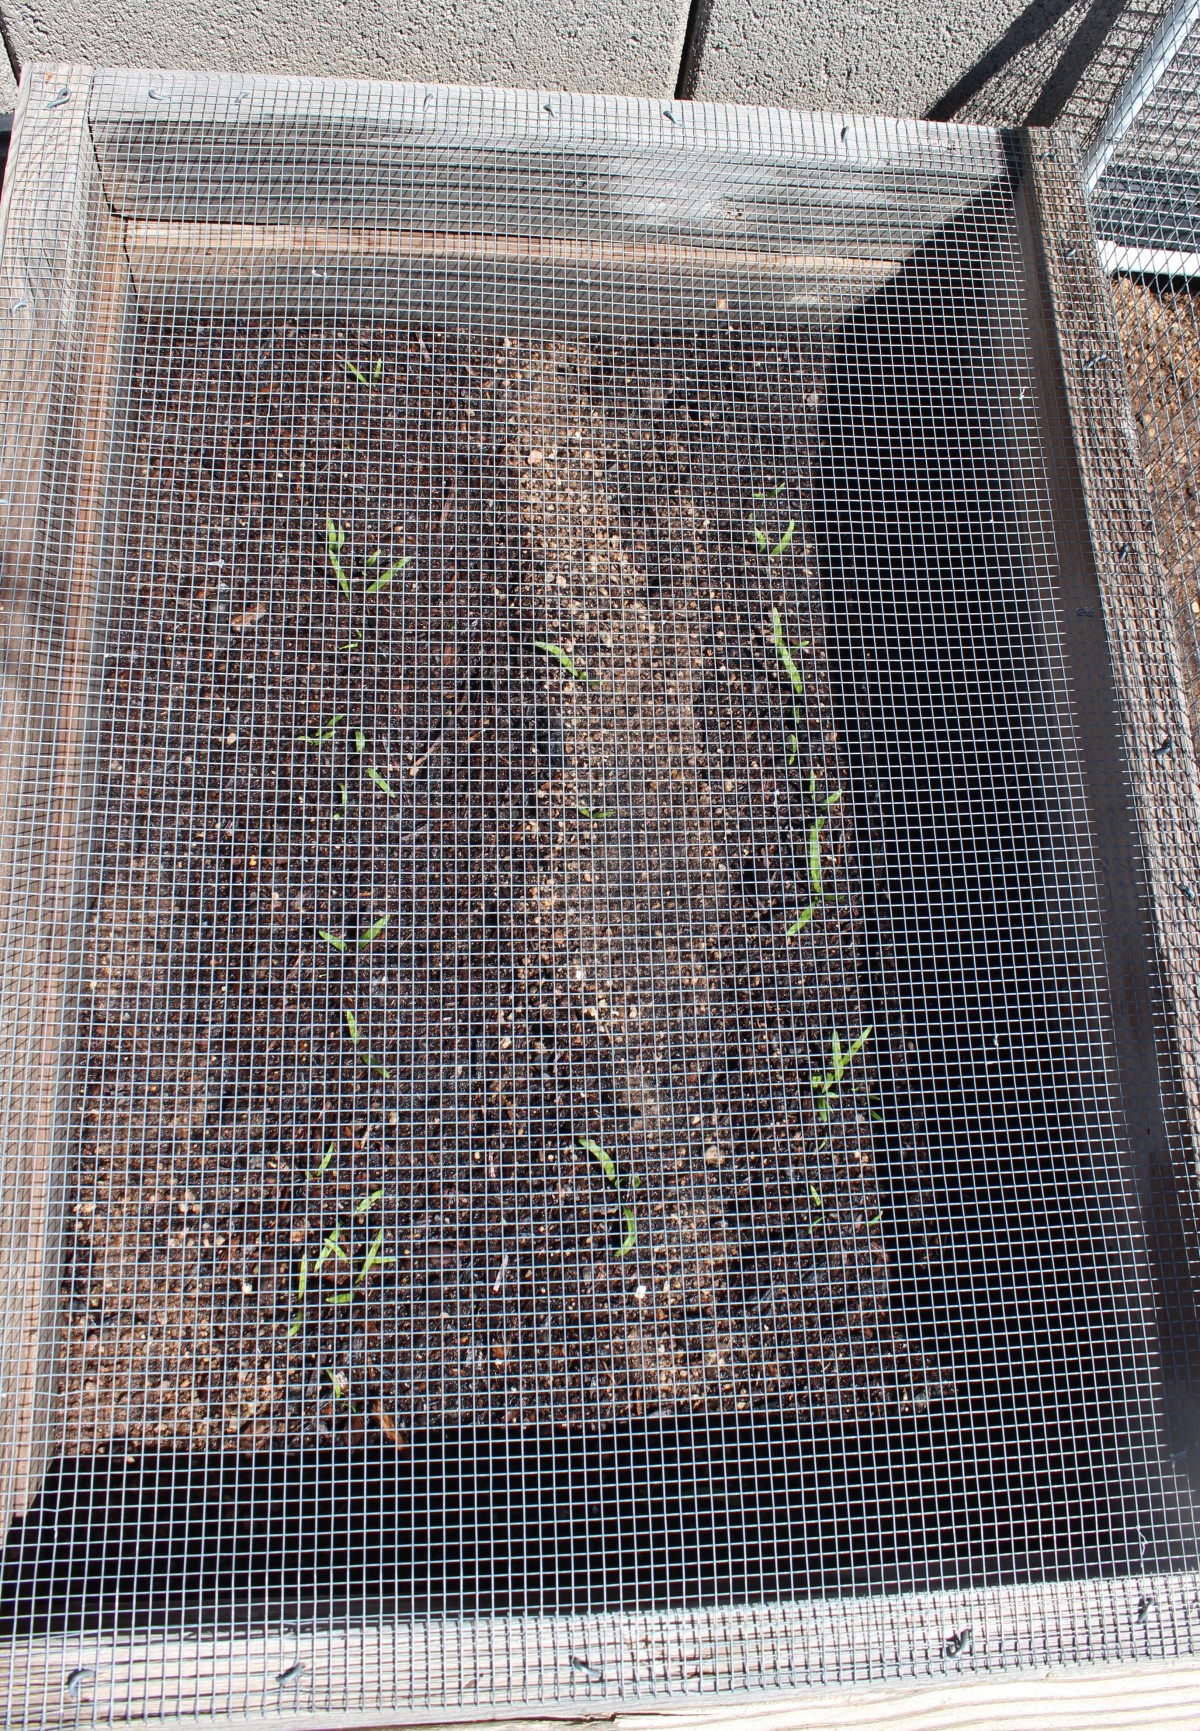
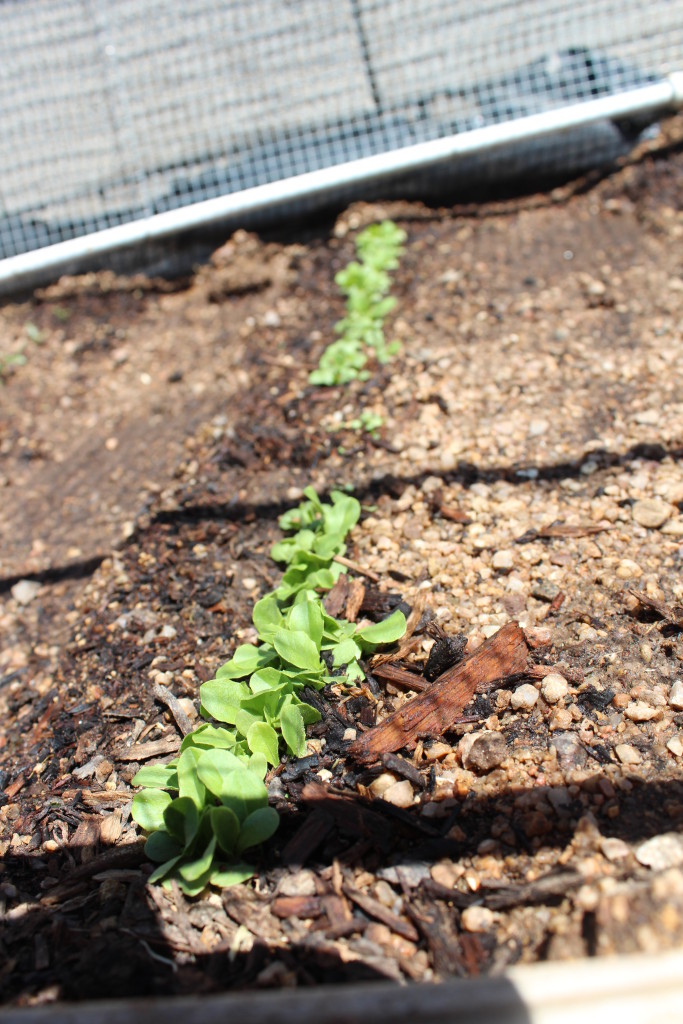
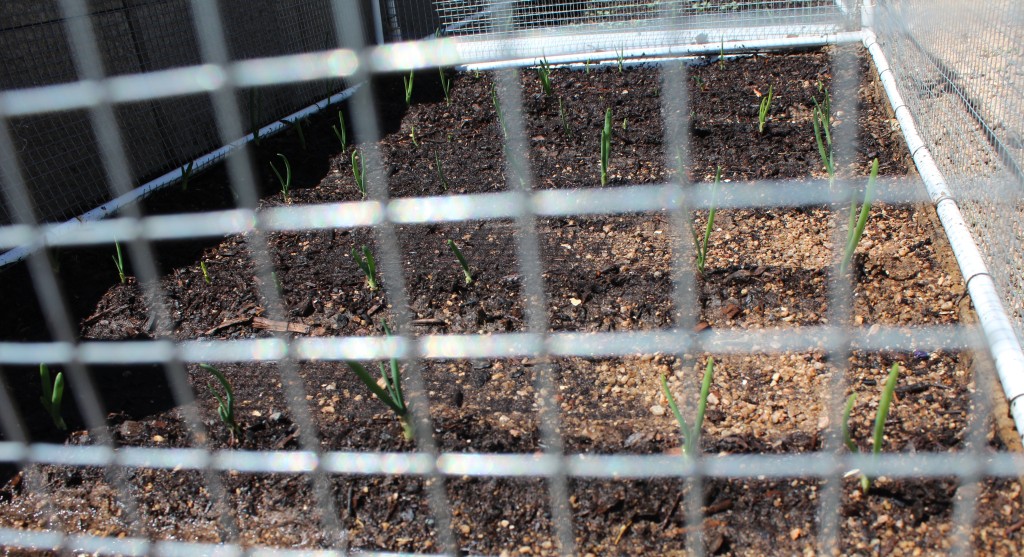
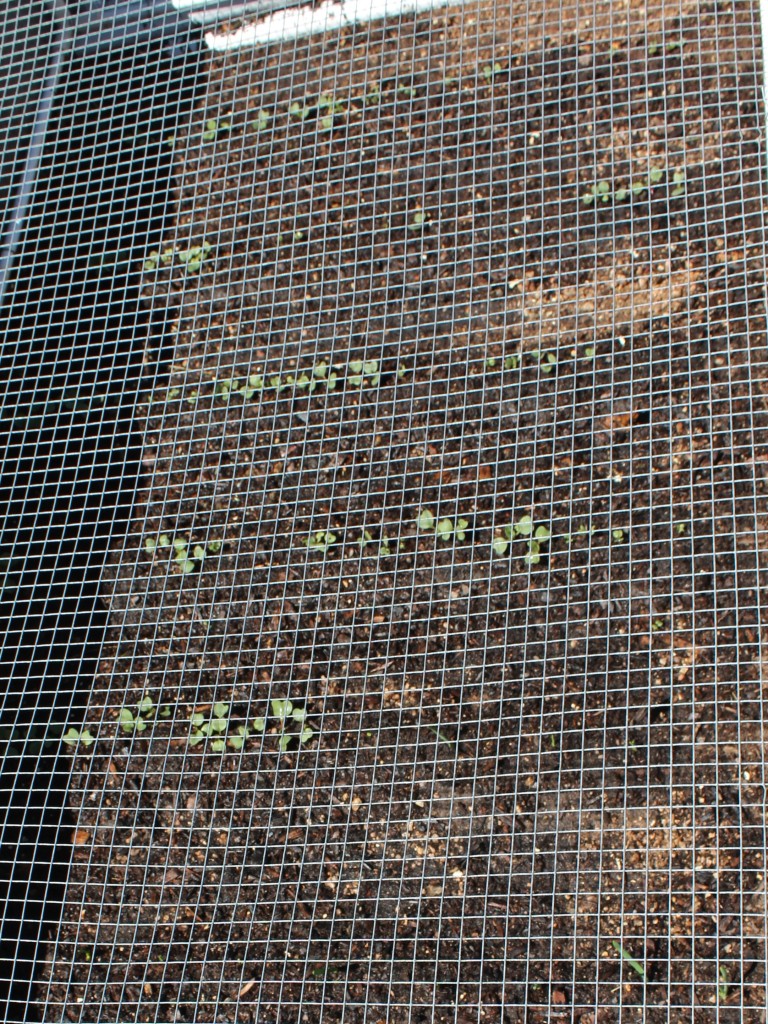
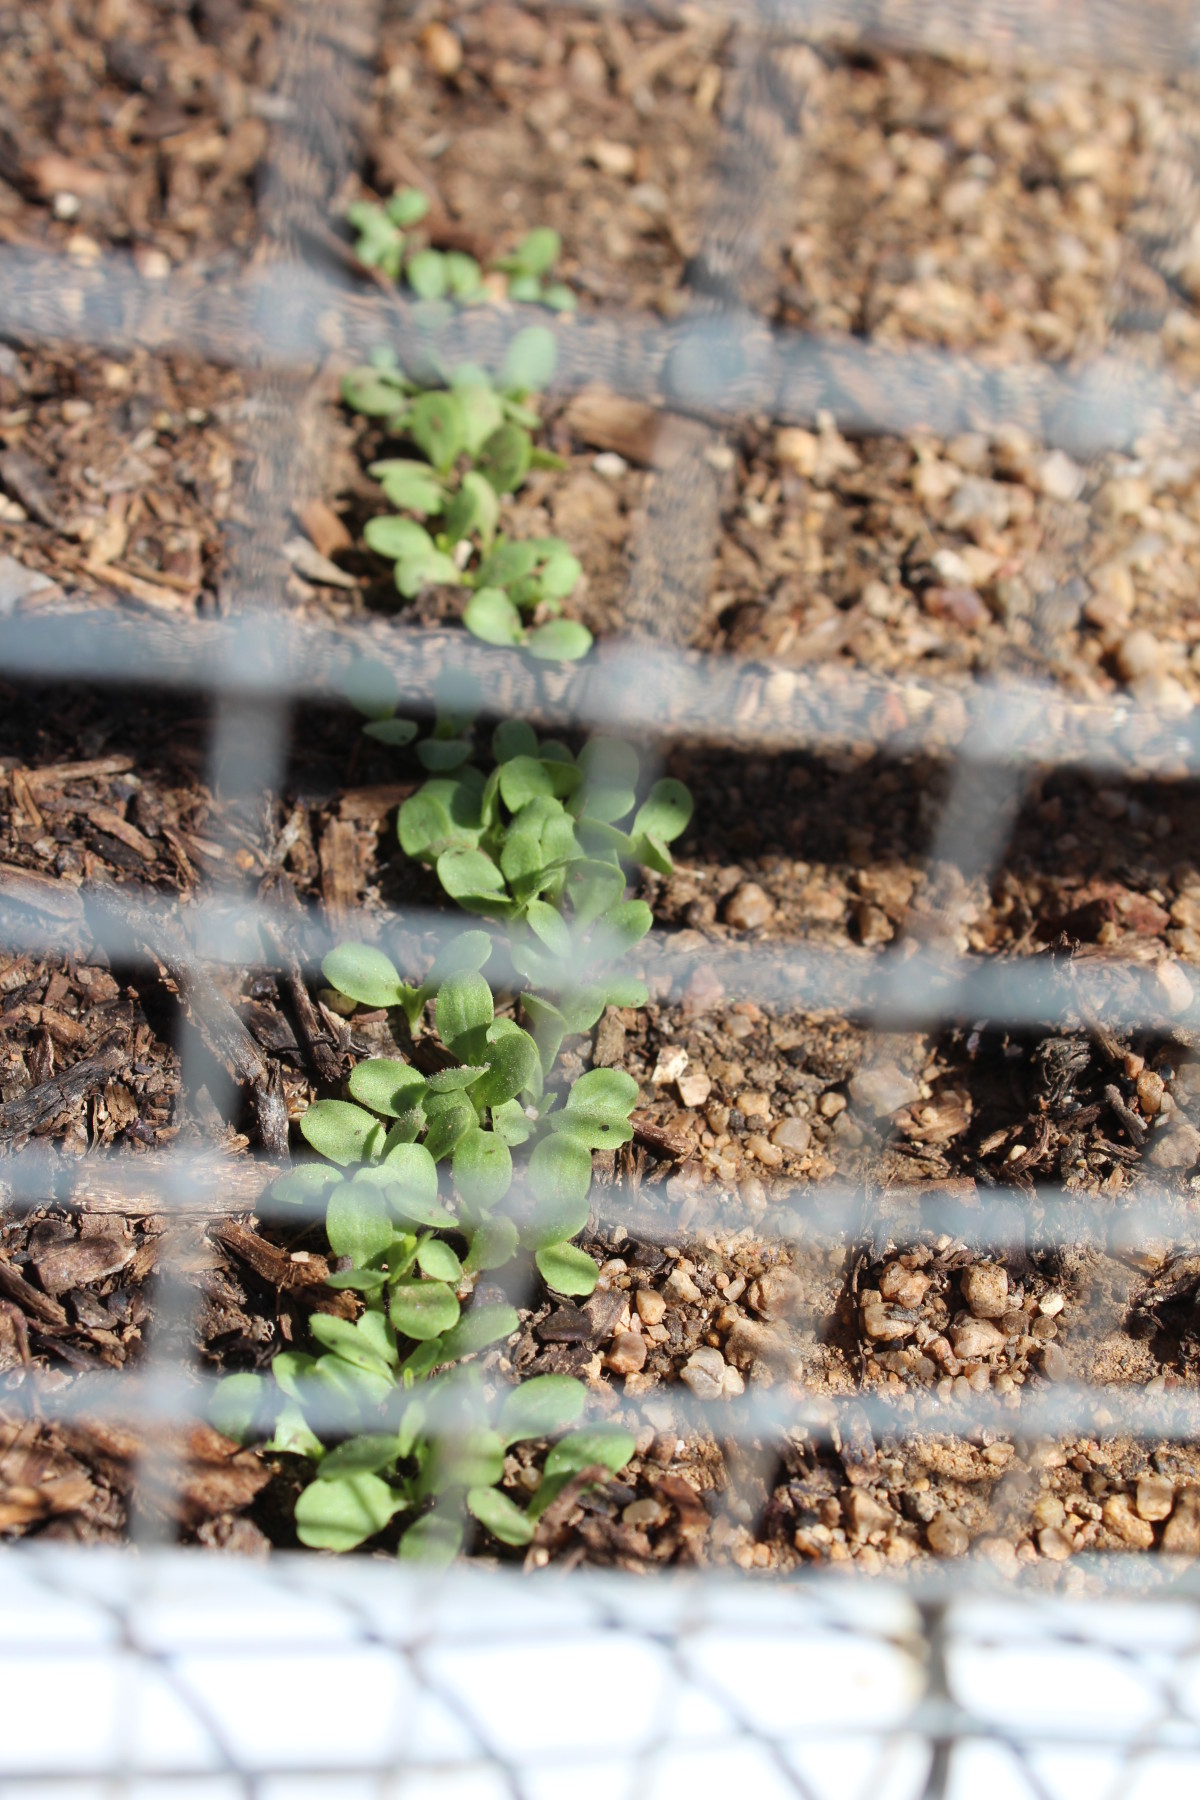
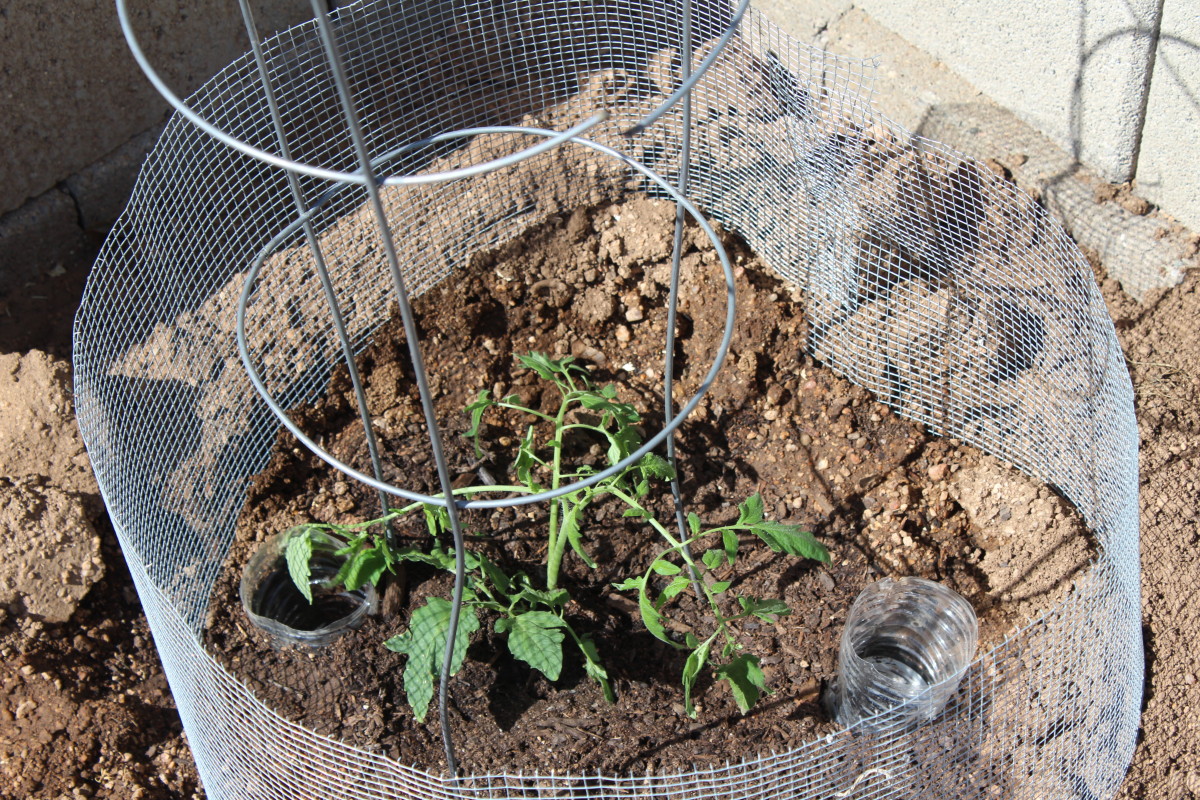
Another week of waiting has passed. The above photo of lettuce shows the most successful plants thus far. When the lettuce is a little bit taller, I’ll need to thin it out. Radishes, spinach, onions and one lonely green bean have poked through. Still nothing has sprouted in the carrot patch so far. We’ve had some strong winds with advisories this week. Not surprisingly, the winds beat it up the tomato plant, so it’s hanging on.
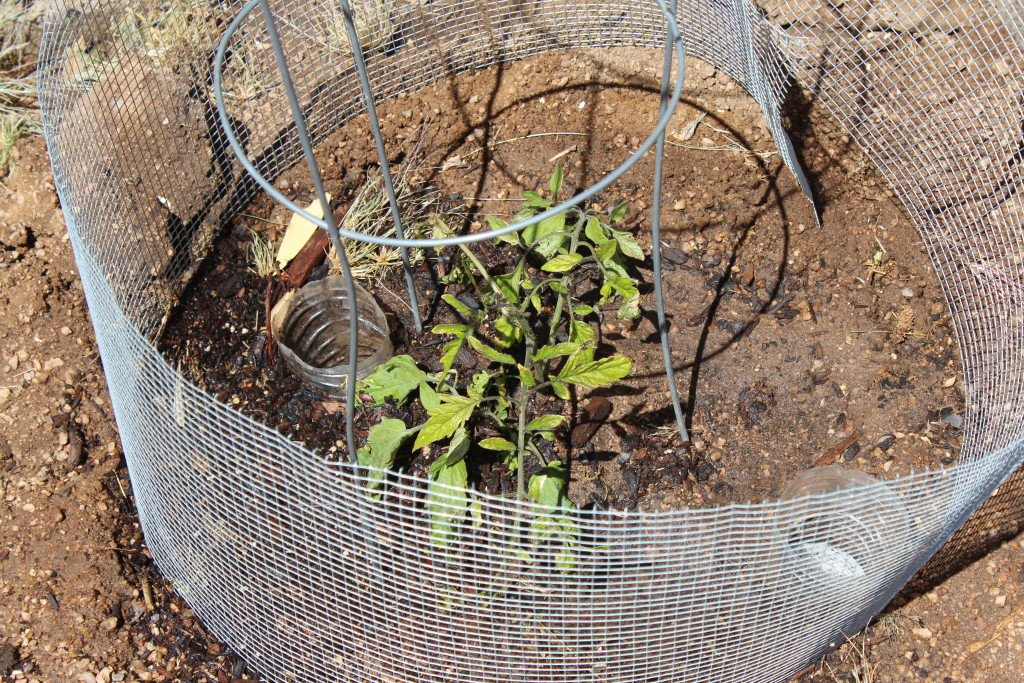
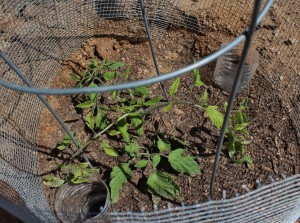
Tomato Plant , Day 15, after high winds.
The photos were taken around noon before watering. Yes, it is extremely dry here.
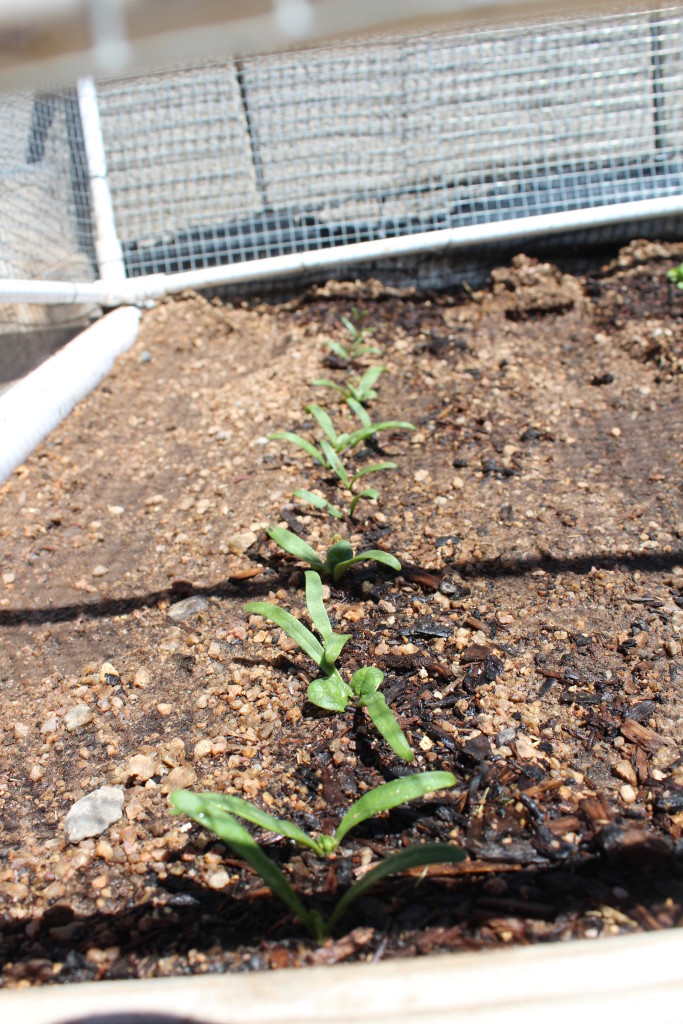
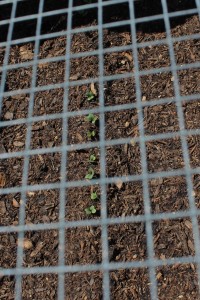
Spinach, Day 15
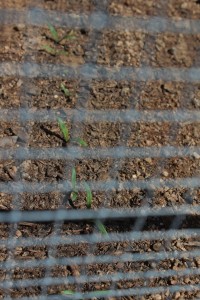
Although hard to see through the cages, but the spinach and radishes are doing well. They broke through the soil last Tuesday.
I’m thinking I’ll give the carrots, zuchinni, yellow squash and green beans another week to see if anything will sprout. There’s always the possibility that I planted too deep. All new seed this year, so I’ll have to blame it on my planting depth.
Radish, Day 15
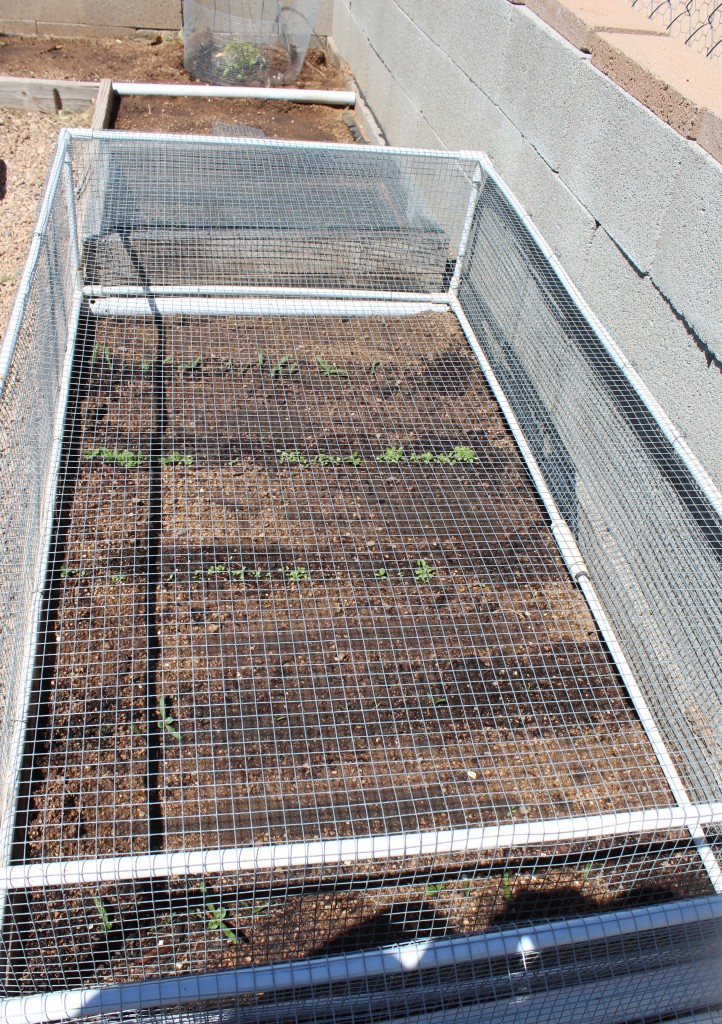
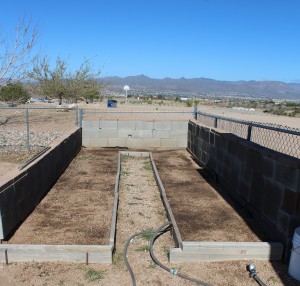
Granpa has been working on another bed that’s about 36″ wide by 10′ long. It’s leveled and ready to start mixing compost, dirt, sand, peat moss and vermiculite. He used cinder blocks for the raised bed and is laying out other beds that will be watered by the landscape watering system. We’ll probably leave the beds unplanted until the fall planting season.
Spring is a great time to repot indoor houseplants, too. I’ve repotted a fern and bamboo plant so far.
It’s been a week of daily watering. The only thing green in the garden is the tomato plant. I haven’t had good luck with tomatoes in the past. I’m trying something different by putting a couple of water bottles in the ground to get the water down to the roots. I’ll see how that works. Weather has been warm in the upper 70’s, so it shouldn’t be too long before I see something sprout.
Nothing Yet. The seeds are in the wider black area. I water in the furrow between the rows.Garden addition. Cantaloupe can trail out into the yard and squash will fill the rest of the bed.
I had some peat moss and various soil additives, bone meal, gypsum, etc. left over. Instead of buying bags of “garden soil,” I thought I’d buy the stuff they sell as “top soil.” As soon as I opened the bag, I knew exactly what they were calling “top soil.” It’s nothing more than well-aged cow manure with a little wood mixed in. Looks exactly like those big, black mountains surround the feed lots throughout Texas and Oklahoma. Once the water hit it, there was no doubt. On the bright side, it should grow beautiful plants.
Gorgeous weather here. It’s the perfect temperature, day and night. I don’t need to run the furnace or the air conditioner. Makes for great sleeping weather. I love having the house opened up with the breeze blowing through. We’re lucky if Spring lasts more than a few weeks. All too early, the air conditioner becomes a necessity.
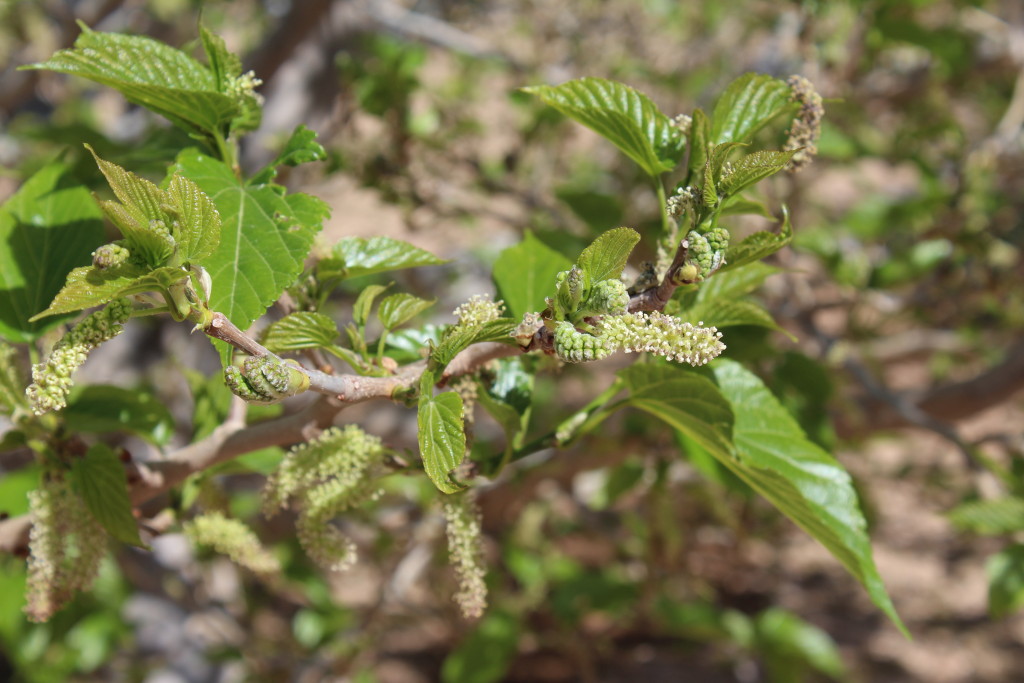
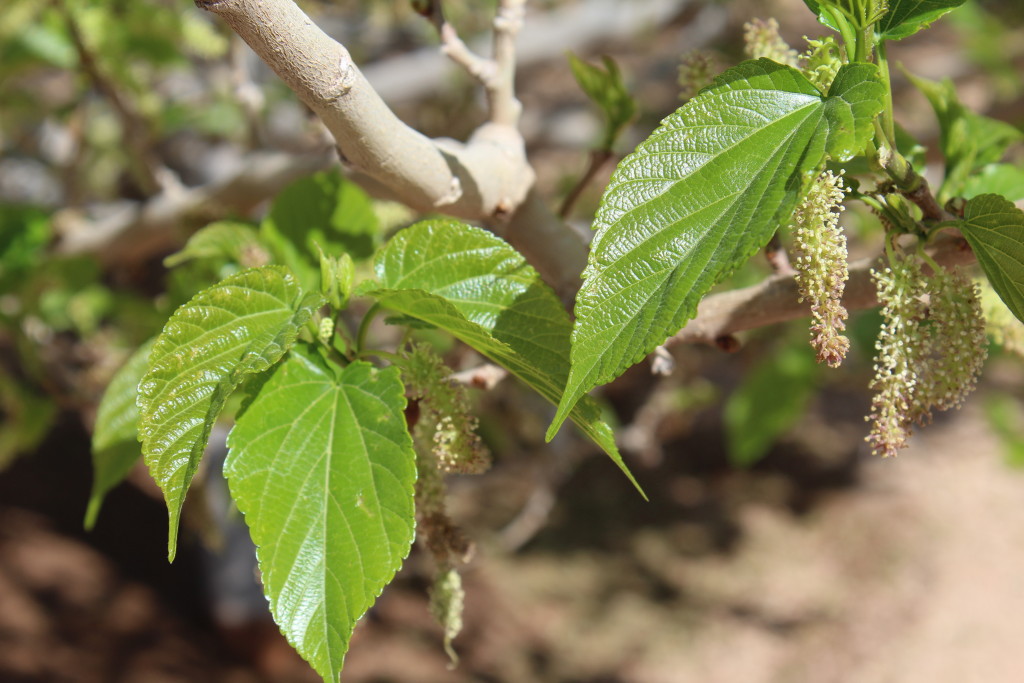
Mulberry tree in full bloom.
The mulberry trees are in full bloom. I’ll have to wait and see how the garden does this next week.
Maggie is my Maltipoo. The photo above is her baby picture. She’s a year old this month. She’s got a great personality and a little stubborn streak. Hmmm…she’s just like the rest of the family. No wonder she’s such a good fit. I hadn’t had a purebred dog in over thirty years since I moved from Iowa. Throughout the years, our other dogs came from the pound or from people who couldn’t keep them any longer. Originally, we headed to a pet store in Las Vegas to look for a Maltese. We wanted a small, calm breed that could travel with us. When we arrived at the store, their Maltese had been sold already.
Maggie was about 4 months old, so she’d been there a while. She made eye contact and kept watching us as we looked at the various dogs. She was the first pup we took to a playroom and she was adorable, friendly, and curious. We played with a couple other breeds, but they weren’t as engaging as her. After we’d played with her, she never took her eyes off me. Those deep brown eyes said, “Please, take me. I’ll be good.” (Her cell mate had left earlier in the day. I’m sure she didn’t know what happened to it.) We played with her again and that was it. She stole our heart.
We couldn’t ask for a better indoor dog. A quick trip to the vet for medicine to clear up her eyes and schedule the rest of her puppy shots and we were set. She was easy to potty train and is quick to learn tricks. You know, sometimes, I’m not sure who’s training who.
Okay, I admit it. I’m frugal. Well, actually cheap. I’ve discovered several ways to save on Maggie’s grooming and food. Maggie is a Maltipoo, a small indoor dog. The photo above is shaggy Maggie. She definitely needs a bath and trim.
When Maggie was a pup, she wasn’t much larger than a bunny. Since we often have red-tailed hawks flying around our place, she doesn’t go outside unless someone goes with her. She’s just like having a kid around. Right behind you every step of the way, always wanting to see what you’re doing.
Do the grooming yourself. There’s no way I’m going to spend more on her grooming than I do on mine. I dilute the pet shampoo 3 parts water to 1 part shampoo. This makes the shampoo last longer and it doesn’t irritate her sensitive skin and make her itchy. I put it in a recycled spray bottle and after getting her wet, spritz it on, then work into a lather.
Buy a pair of good clippers. It’s not that difficult to trim your dog. Start with one of the longer guards because you can always go shorter if you mess up. Make sure their hair is clean, dry and combed through – no matts or knots. Cut in the direction of the hair. For trimming around the face, grab their chin hair to hold their head still, then cut the hair with the scissors. Use the shortest guard to trim the hair between the pads on the paws and to do the sanitary trimming. There’s several dog grooming videos on You Tube. Watch one applicable to your breed and after a couple times, you’ll have it down.
Buy a pair of toenail clippers with the guard. I recommend the clippers with the guard so you don’t accidentally cut too close. Never cut into the pink part of the nail. When in doubt, it’s better to leave them a little long. I haven’t tried any of those rotary nail trimmers. They may work fine. I just haven’t tried them yet.
Don’t buy expensive treats. Buy the smallest bag of large breed dog food you can find. Give out one or two pieces at a time for a treat. A small bag will last a long, long time. I found a small bag that fit perfectly in a gallon pickle jar. By keeping it in a jar, the semi-soft pieces stay moist.
Don’t buy expensive stuffed chew toys. For most stuffed animals, the expensive ones don’t last any longer than the cheap ones. Maggie disembowels her stuffed toys regularly. She has a knack for finding that weak seam and chews in that one spot until she can get the fiberfill out. I’ve got a few to re-sew right now. I use heavy duty thread and beeswax to repair them by hand stitching the seam or hole. Using beeswax keeps the thread from tangling.
I woke up early yesterday; impatiently waiting for the sun to come up so I could get out in the garden. A few high clouds made for a beautiful sunrise. As I was waiting, I made cookies that I’ll post later this week.
I love playing in the dirt. I guess that’s the farm girl in me coming out. Fresh produce is so good. It seems wrong to pay over $2.50 for an 8 oz. bag of salad spinach. Salads are a summertime staple at my house. Who want’s to heat up the kitchen when it’s 100° in the shade?
Gardening in Arizona is somewhat a challenge. As I remember, Iowa gardening was so much easier. Till the ground; plant the seeds; pull weeds now and then; water if it doesn’t rain; then sit back and watch it grow. The soil was rich with nutrients. As my dad, a life long farmer, said about Arizona when he came to visit, “This ground ain’t good for nothing. Too rocky to grow anything.”
Garden’s been tilled.
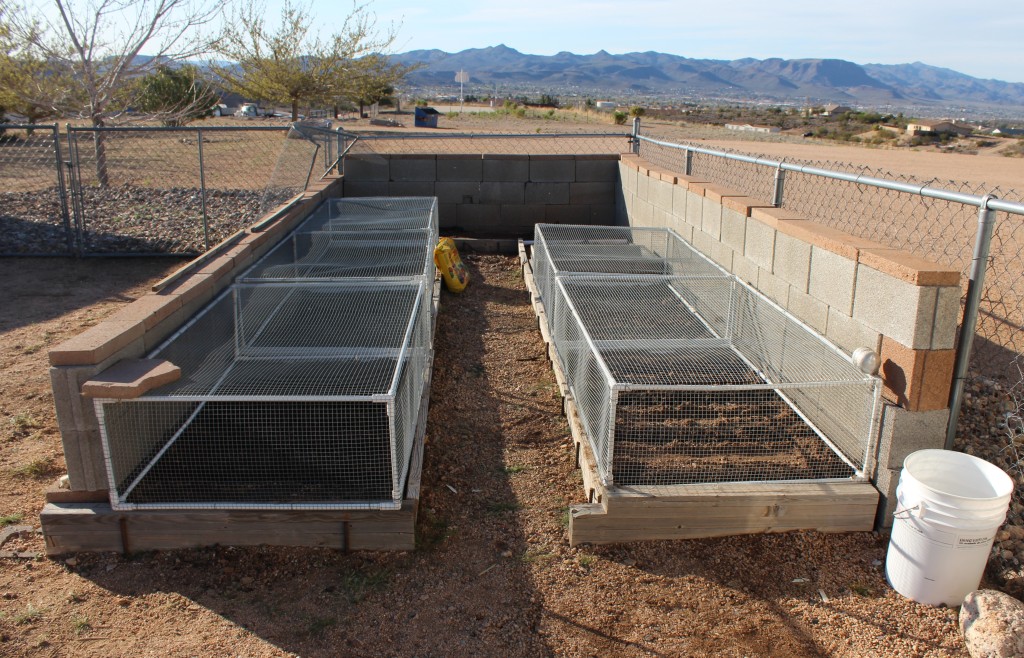
Over the years, I’ve tried various methods with limited success, gardening in bags (soil got too hot and cooked the roots), gardening in tubs (had great tomato plants, but the fruit didn’t set), and rows (planted & replanted several times. Darn chipmunks and kangaroo mice kept digging up and stealing the seeds. If something did sprout, the rabbits got it.) Our backyard is enclosed by 3′ chain link, with chicken wire around it and overlapping the gates. The rabbits hop over the fence like it’s not even there. We put up blocks in one corner to help with the critters and the hot summer winds.
First lizard of the season. It’s a bit chilly this morning, so he’s moving slow.
Well, a garden is possible – if you cage your area and enrich the soil by adding peat moss, compost, perlite, etc. into the ground. I have a small garden area and plant in a modified square foot format. Each year, we continue to add garden soil and compost. Eventually, I’ll get the soil where I want it.
Onion sets, radishes, carrots, green beans, spinach and romaine lettuce hit the dirt yesterday. Today, we’ll be expanding the garden a few more square feet on the left side of the wall for full sun. Zucchini and yellow squash have to been in full sun to avoid aphids and they don’t mind the high winds. Tomato plants, zucchini, yellow squash and cantaloupe are on today’s agenda.
Garden Planted and Caged
I’ll provide weekly updates on my garden, perhaps more often after it starts to grow.
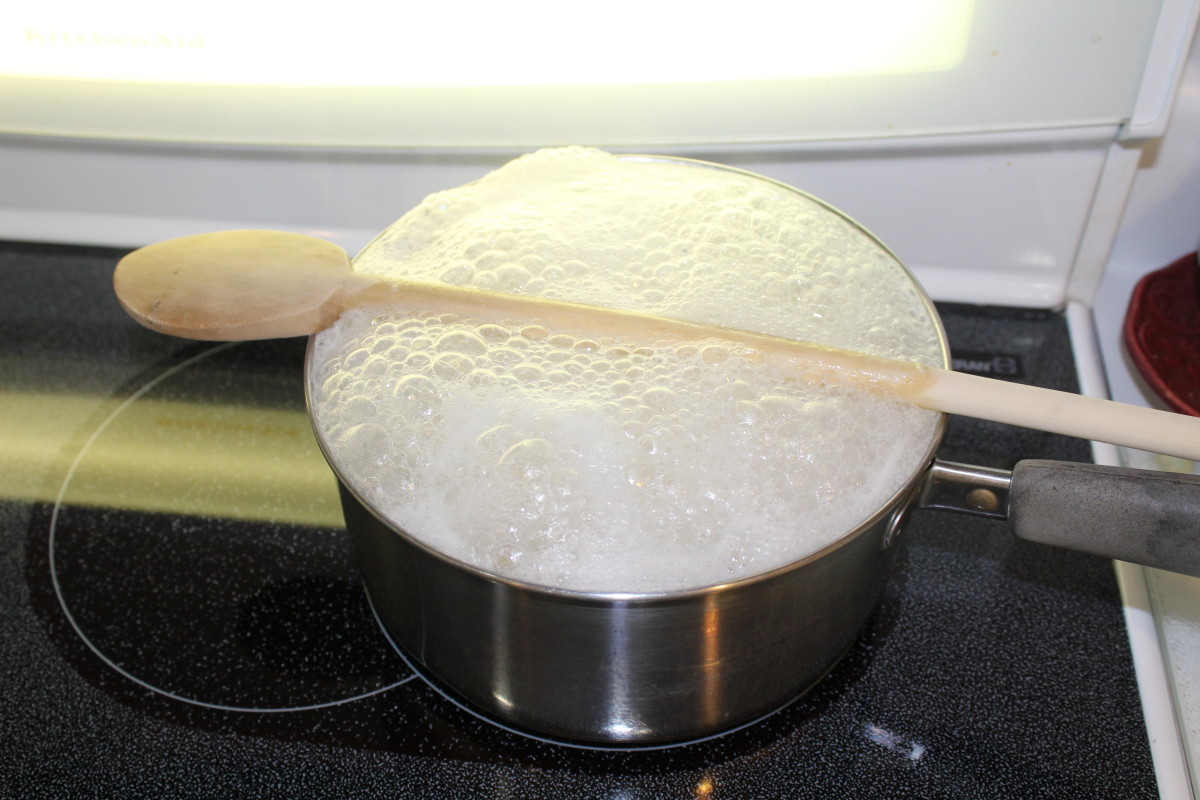
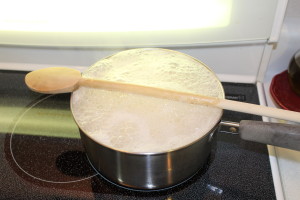
You may have already heard this and wondered whether or not it works. Well, a wooden spoon placed across the top of the pan does prevent starchy foods, such as potatoes and noodles, from boiling over, for a time anyway. You know how the smell of something boiling over takes over the kitchen? It totally wipes out the smells of all the other good foods, so I avoid it as much as possible. When I’m in the kitchen, I’m usually distracted with preparing something else while the potatoes or noodles cook.
Wooden spoon works
Using a spoon across the top of the pan does buy enough time for me to reduce the heat without a mess. This is one of those tips that’s now became a habit. I still have to keep an eye on the pan, just not as close as before.
Now, I never boil anything without a spoon. It works!
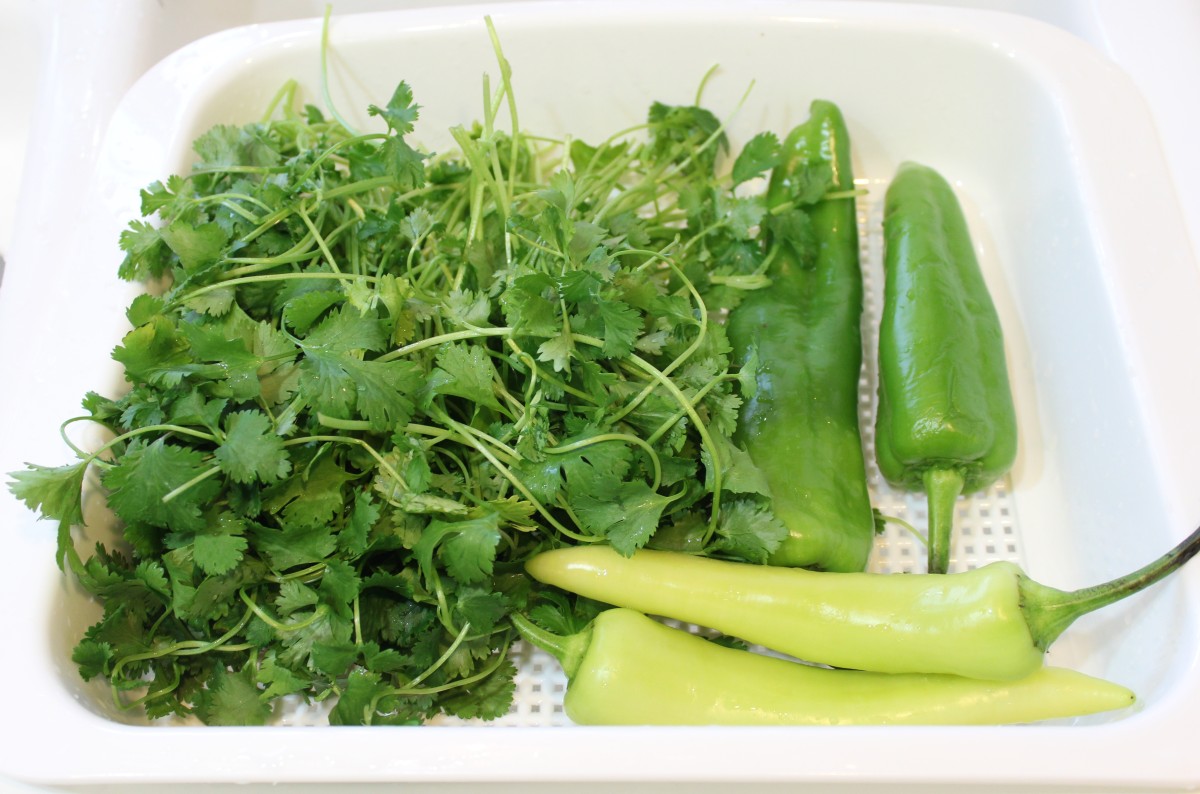
No matter where you get your vegetables, at the store, farmer’s market or from your own garden, they need to be washed. Prepared washes are not always available here. When they are in stock, they can be pricey. The easiest and cheapest method I`ve found is using ¼ cup white vinegar in ½ gallon of water. Scientifically, I don`t know how much bacteria, germs, etc. it does remove. However, no one likes excess dirt or creepy, crawly things in their food. When you spend the time to prepare food, you definitely don’t want to make anyone sick.
Unwashed Peppers and Cilantro
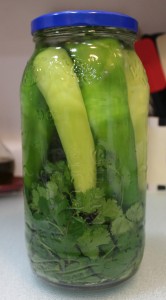
First, rinse the produce well under running water. Don’t scrub with a brush as it may scratch the surface and let unwanted bacteria in. Use your hands to rub off visible dirt. I’ve recycled a ½ gallon pickle jar to wash my veggies in. If I have a lot of produce to do at once, I recycle a gallon pickle jar and increase the white vinegar to ½ cup. I make sure the skin is intact with no holes or mushy spots. Some vegetables float, so when the lid`s put on, it keeps them submerged. Keep the vegetables in the vinegar/water solution for 15 minutes. Dump out and refill the jar with cool water. Return the produce to the jar for 5 minutes, then rinse briefly.
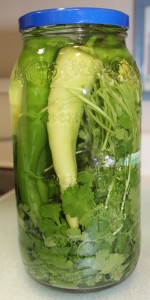
Another view, Peppers and Cilantro in SolutionPepper and Cilantro in Vinegar Solution
Following the initial soak for leafy greens, (cilantro, parsley, leaf lettuce,) I swish the greens around and change the water a couple times until the rinse water is clear. I’m on a private well, so I don’t have chlorinated water. Our drinking water runs through a RO system. I’d use filtered water in the vinegar solution if I lived in town rather than the chlorinated city tap water.
Always be sure to wash cantaloupe and watermelons. Even though you don’t eat the rind, the bacteria is transferred inside when you slice it.