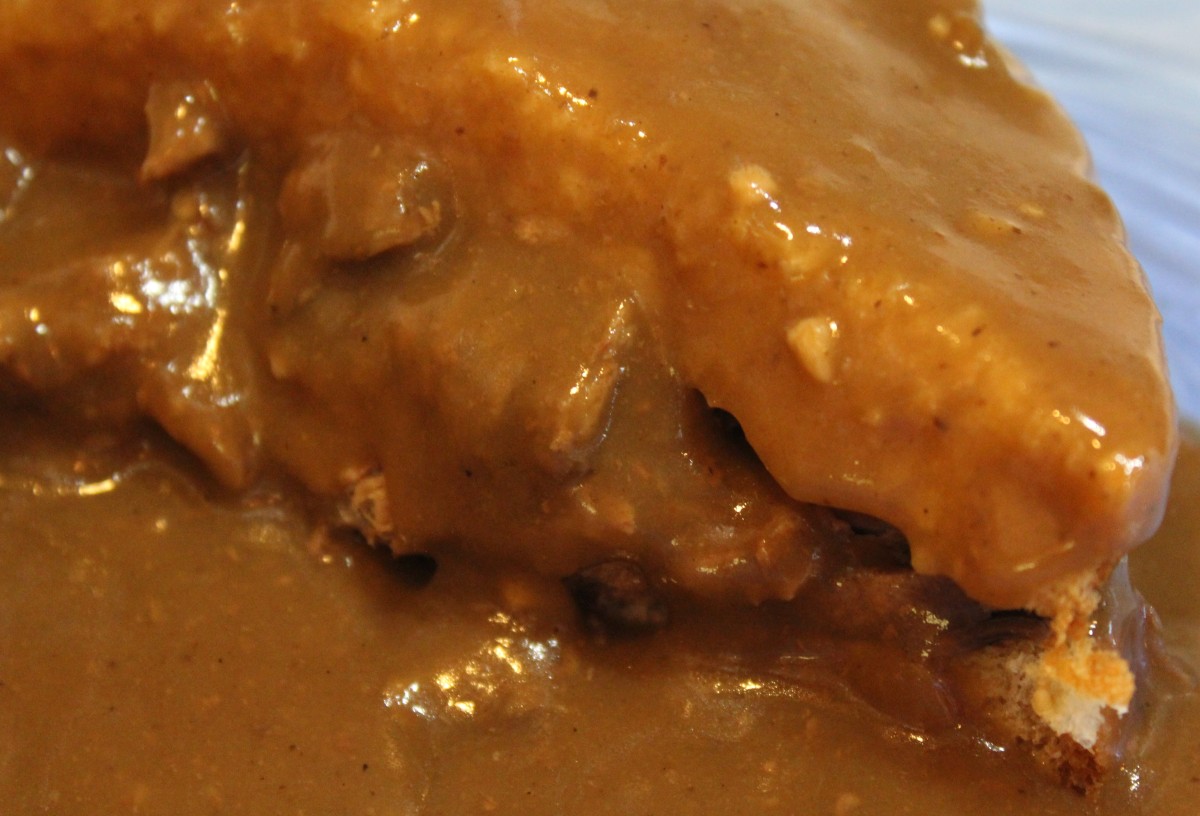
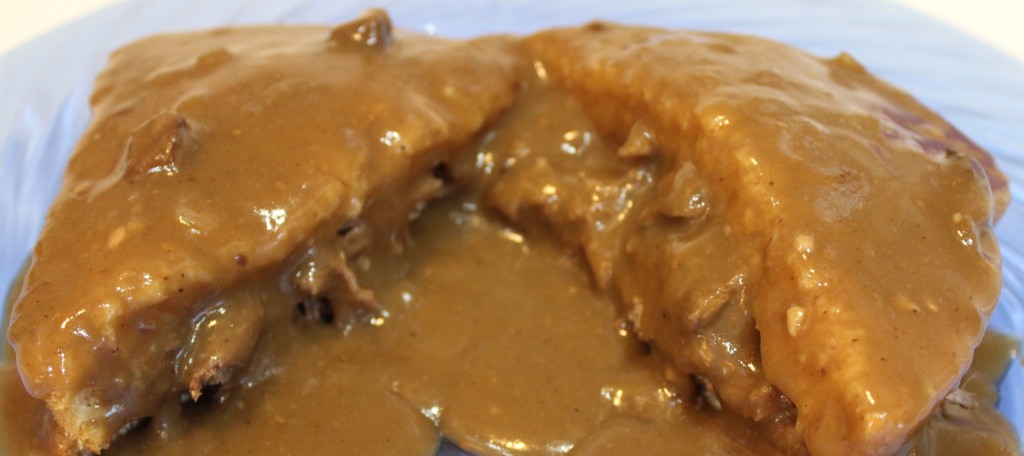
What a better use of yesterday’s leftover roast beef and gravy than a hot roast beef sandwich? Growing up, I ate a lot of these. They were a quick and easy supper before the days of microwaves. Most every local café, served hot roast beef sandwiches with a big dollop of mashed potatoes. I haven’t seen a hot roast beef sandwich on a menu in years. If they’re out there, I guess I haven’t been going to the right restaurants.
The ingredients are pretty straightforward – leftover roast beef, leftover gravy and bread. I prefer reheating gravy and meat the old school way on top of the stove vs. using the microwave.
Reheat gravy in saucepan. Add water as necessary and stir occasionally while reheating over medium heat. Put a small amount of beef broth or water in a small frying pan. Add roast beef. Cover and let warm up over medium heat.
In a few minutes when everything is heated through, pile roast beef on a slice of bread. Put another slice on top and smother with gravy.
Online I’ve been noticing a way of baking your eggs in a muffin tin. I haven’t tried that method yet. I seldom need that many hard boiled eggs at once, so I think I’ll stick to the old fashioned way of boiling on the stove top.
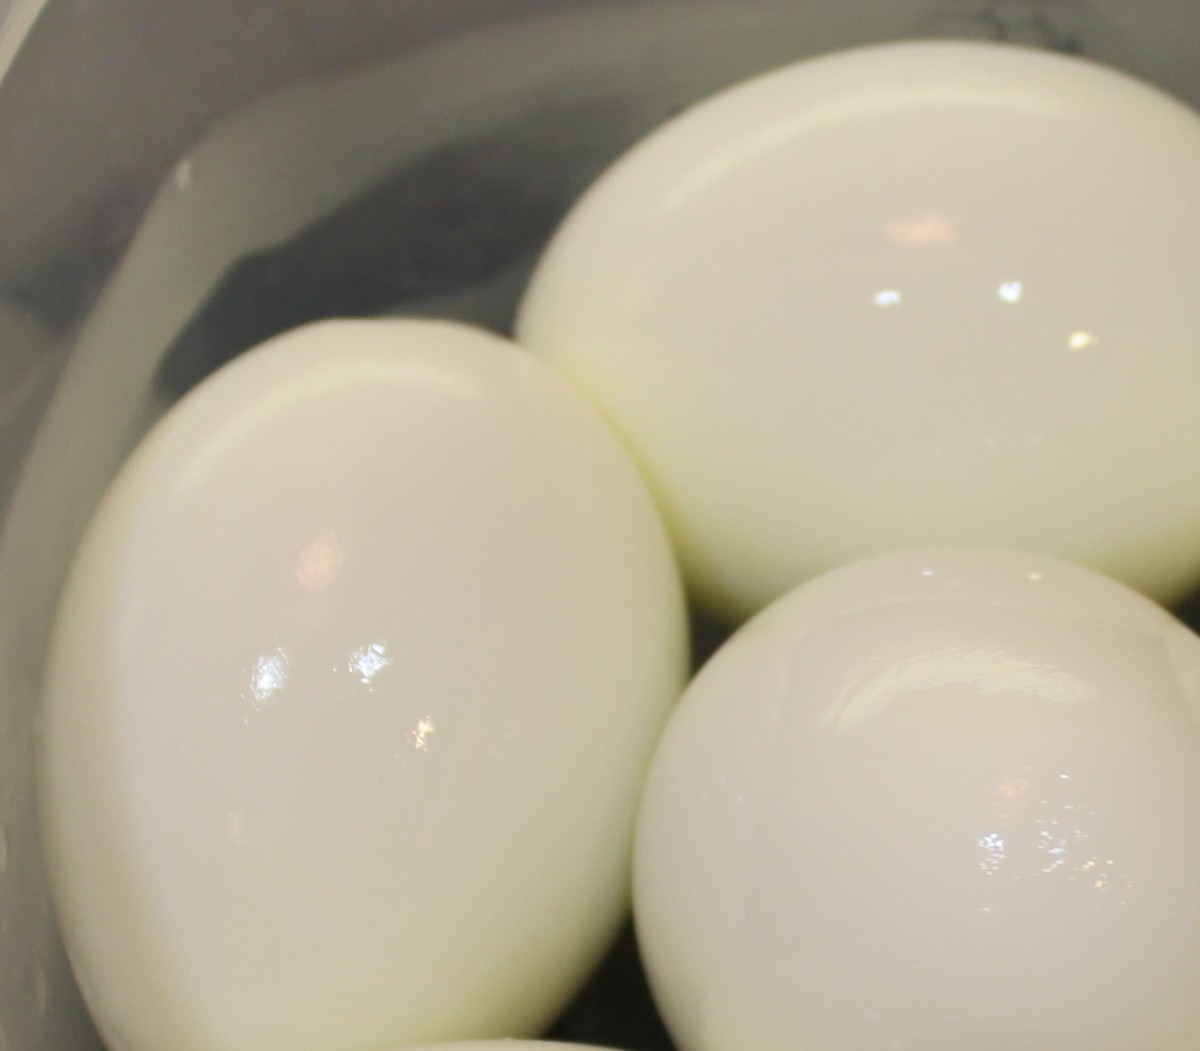
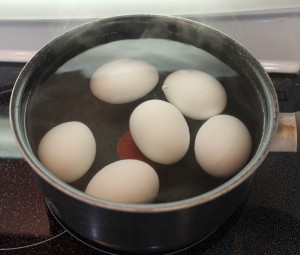
Place 4 to 6 eggs in a 2-quart saucepan. Fill pan with cool water to about a ½” from the top of the pan. There should be 1″ to 2″ of water on top of the eggs. Bring water to a boil over medium high heat. Once the pan is boiling, remove from heat and cover.
Cover pan and let sit.
Let eggs sit for 25 minutes.
Drain water and fill pan with cold water. Gently break the eggshells and peel under running cold water. Store eggs tightly covered in refrigerator.
That’s it folks, bring to a boil and let them sit. Can’t get any easier than that.
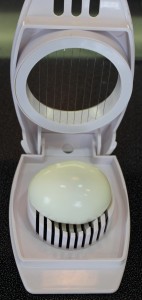
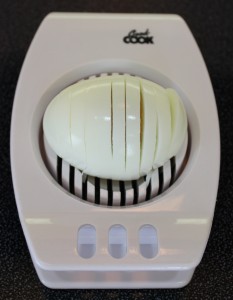
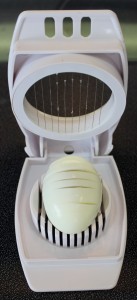
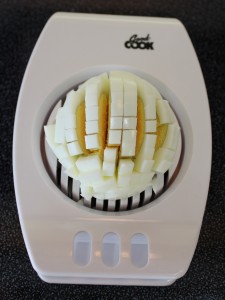
Slicing and dicing eggs is a breeze with a slicer. Follow the pictures below:
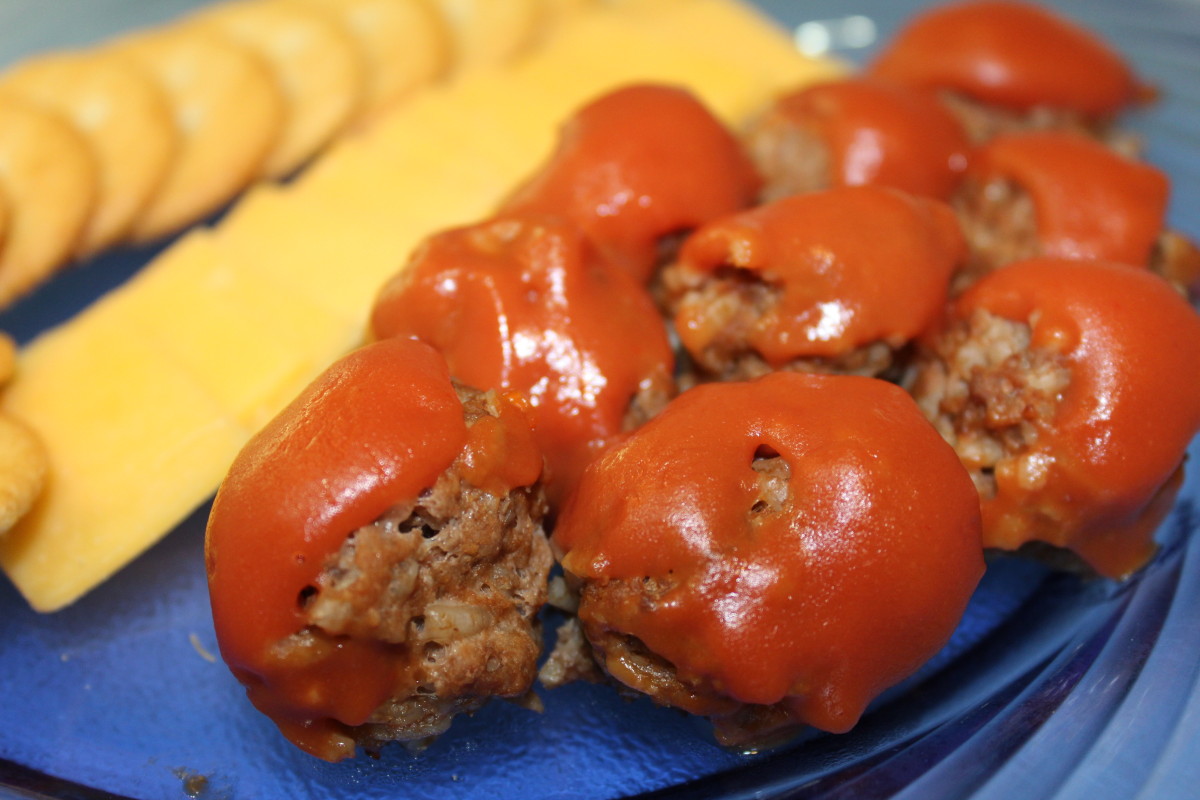
You know, the later in the week it gets, the less I feel like cooking after work. These meatballs are quick and easy. We like them with slices of cheddar cheese, crackers and corn-on-the-cob for a quick supper.
1 lb. lean hamburger or ground chuck
1 cup Minute Rice, uncooked (white or brown)
1 can (10 oz.) condensed tomato soup
1 egg, slightly beaten
½ cup water
1 teaspoon onion or garlic salt
1 tablespoon Worcestershire sauce
2 tablespoons catsup or ketchup
1 teaspoon yellow mustard
Combine ground beef, about ½ can of soup [I spoon it right out of the can.], egg, water, salt, and Worcestershire sauce. Add rice. Mix well. Let mixture set for 5 – 10 minutes. [This lets the rice absorb the water. At this point, you can cover and refrigerate several hours until ready to cook.] Shape into small balls (about a tablespoon each). [I use a small scoop for this.] Arrange in a circle on a microwave meat platter or a large glass pie pan. Cover with wax paper.
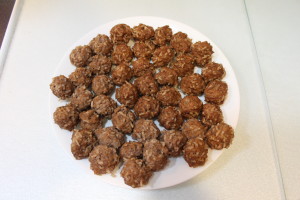
Meatballs Ready for Topping
Microwave at full power for 4 minutes; rotate meatballs on platter so what was facing in towards the center is now facing out towards the perimeter. Cover waxed paper. [You can re-use the piece you already used.]
Return to microwave for 3 minutes. Using tongs, move meatballs to a serving platter. Form the remaining meat into balls, cook as above and transfer to serving platter. The meatballs brown up as they sit. The meatballs on the right are the ones that were sitting while the ones on the left just came out of the microwave.
TOPPING:
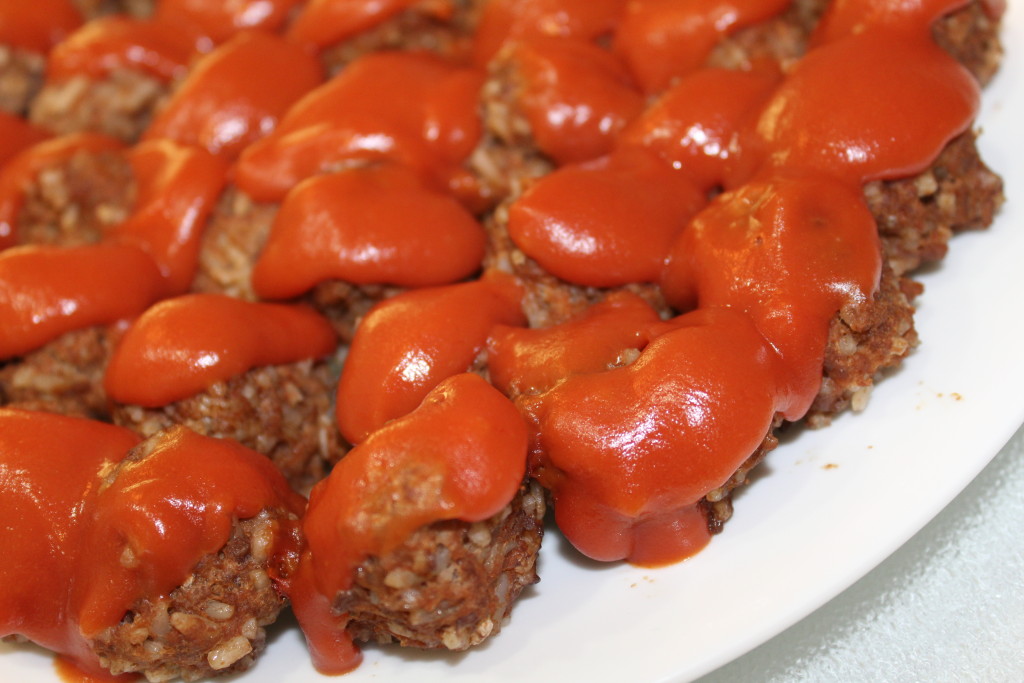
Stir catsup and mustard into the remaining soup mixture, still in the can. Use a soup spoon to pit a dollop of sauce over each meatball. Return to microwave for 2 minutes. [No waxed paper this time.]
Spoon sauce on and return to microwave for a couple minutes.
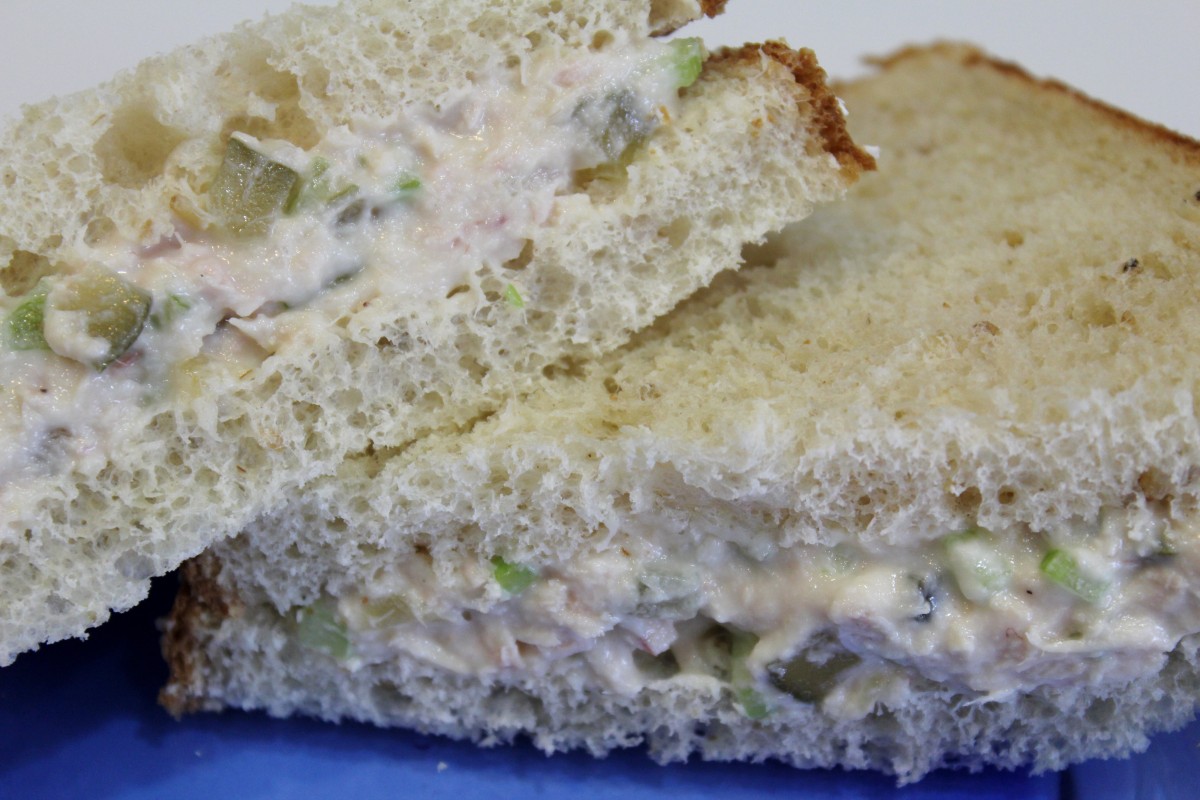
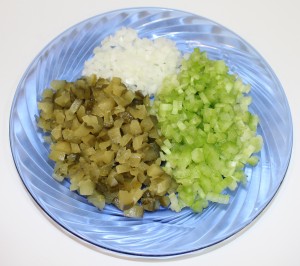
When I grew up, tuna mixed with mayo was considered tuna salad. Not long after I joined the workforce, someone had brought in tuna salad sandwiches for an office lunch. First time I’d ever had tuna salad with something other than tuna and mayo. It was pretty good, so I started trying adding different things. I like lots of crunch, so I use equal parts of celery and sweet pickle with a little onion.
I’ve been using the mayonnaise made with olive oil for several years now. It took a little while to get used to – just not as crisp a taste as regular mayo. I started using a splash of lemon juice to add flavor.
Chopped celery, onion and sweet pickle
2 cans tuna, white albacore in water
¼ cup onion, finely chopped
1 stalk celery, chopped
2 large sweet pickles, chopped
½ cup mayonnaise
splash of lemon juice
dash of pepper
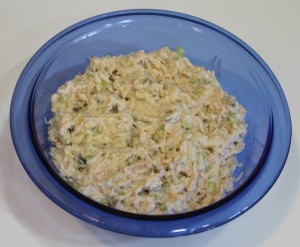
Drain liquid from tuna. Put in small bowl and flake with a fork. Mix onion, celery and sweet pickle with tuna. Add mayonnaise, splash of lemon juice and a generous sprinkling of pepper. Mix well. Store tightly covered in refrigerator until thoroughly chilled.
1 package graham crackers, plain or honey
1/2 cup butter, melted*
1/3 cup sugar
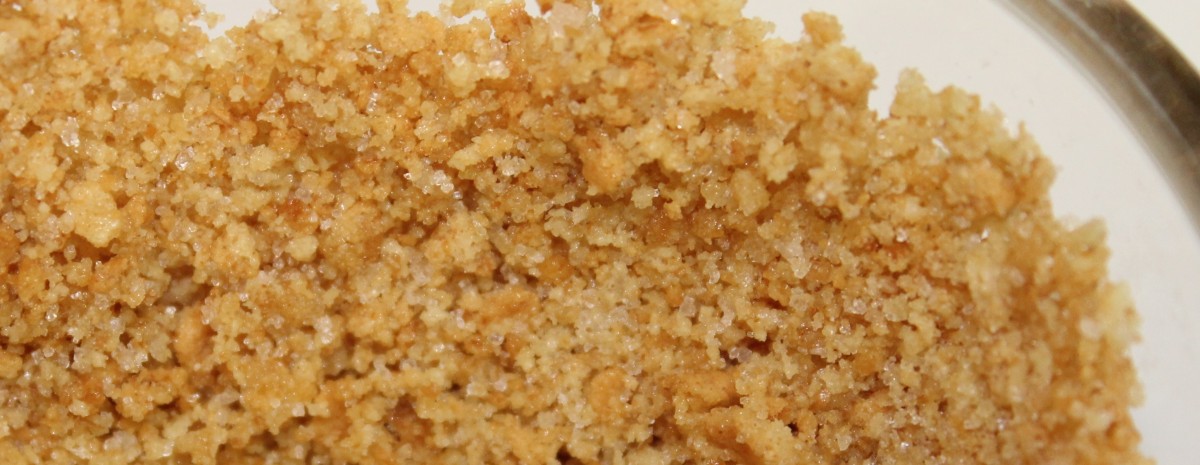
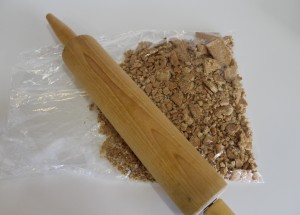
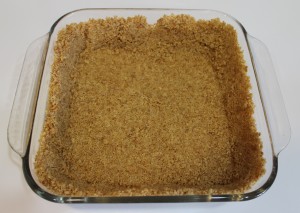
Crush graham crackers with rolling pin or by pulsing in your food processor. [I put the crackers in a plastic bag and crush them. It’s easier than digging out my processor or blender.] Transfer crumbs to a 2 qt. pan. Add sugar. Stir to distribute sugar evenly throughout crumbs. Add butter. Mix well. Firmly press cracker mixture against sides and bottom with spoon or spatula. This recipe is enough to make a 1/4 thick crust on bottom and sides of a 2 qt. pan.
Graham cracker crust ready for filling
* I actually use 1/4 cup butter to reduce the saturated fat. The resulting crust doesn’t hold together as well since it’s not as firmly packed, but tastes just fine.
Depending on what filling you have in mind, cinnamon graham crackers can also be used for a little different taste.
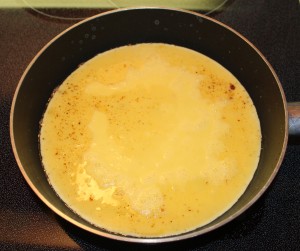
Contrary to popular belief, light and fluffy eggs are easy to make. These definitely aren’t my parents’ eggs. Whenever I fry bacon, I save some of the grease to use for cooking the eggs. [I keep a half pint jar of bacon grease in the frig to add a little splash of flavor to other recipes, too.]
Eggs starting to cook.
2 tablespoons bacon grease
3-4 eggs
1 tablespoon milk for each egg
Lawry’s seasoning or table salt
Pepper
American cheese slices or shredded cheddar cheese
Chives, optional
Melt bacon grease in saucepan over medium high heat.
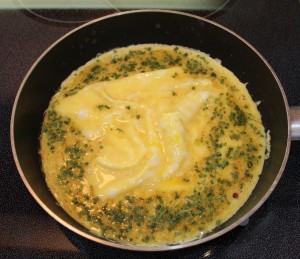
Seasonings added
Combine eggs and milk in bowl.
Beat with fork or whisk until very well blended.
Pour into preheated saucepan.
Sprinkle generously with salt, pepper and chives.
Let sit and cook a few moments.
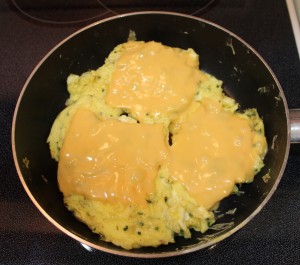
Gently push eggs around with spatula.
When nearly set, flip to finish cooking.
Put cheese slices on eggs.
Push edges to center while cooking.
Turn off burner.
Cover pan and wait a few seconds for cheese to melt.
Serve immediately.
American cheese melts quickly.
The shredded cheddar takes a bit longer.
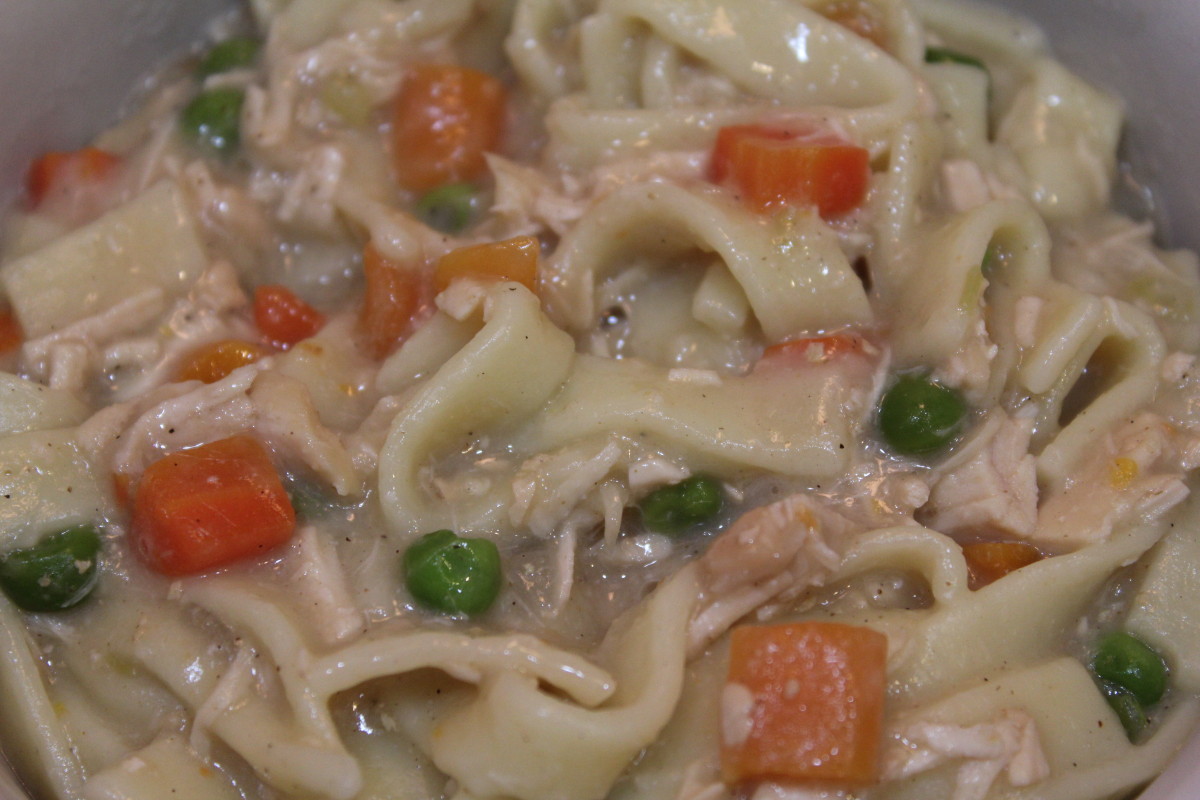
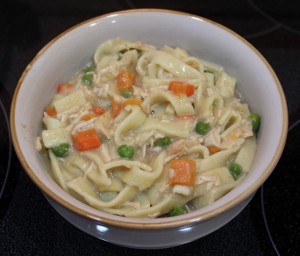
I was a bit under the weather yesterday, so I turned to an old standby. Nothing makes you feel better than a piping hot bowl of chicken noodle soup. True comfort food. This one starts with a can of chicken broth. It’s easy to double this recipe and throw in more of what you like.
Creamy Chicken Noodle Soup
1 boneless chicken breast, raw* or cooked, cubed or shredded
1 14.5 oz can chicken broth
1 large carrot, chopped
1 celery stalk, finely chopped
¼ cup chopped onion
1 teaspoon minced garlic
¼ teaspoon pepper
¼ teaspoon celery or garlic salt
3 large handfuls(cups,) uncooked noodles
1 cup milk
½ cup flour
1 cup frozen peas
Salt and pepper, to taste
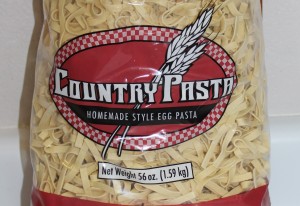
Country Pasta Noodles
Combine chicken, broth, carrot, celery, onion, garlic, pepper and celery salt in large pan. Cover and bring to a boil. Reduce heat and let simmer while the noodles cook. In another saucepan, cook noodles as directed, then drain. I love these Country Pasta noodles. They’re the closest thing I’ve found to homemade. *If using raw chicken, boil in broth until tender, then add carrot, celery, onion, garlic, pepper and celery salt.
Combine milk and flour in jar. Shake well until no lumps remain. Whisk into soup. Return to boil for 5 – 8 minutes, stirring constantly to cook flour and thicken. Reduce heat to medium low. I don’t like mushy peas, so I add them now with the drained noodles. Heat, stirring occasionally, for a few minutes until peas are cooked.
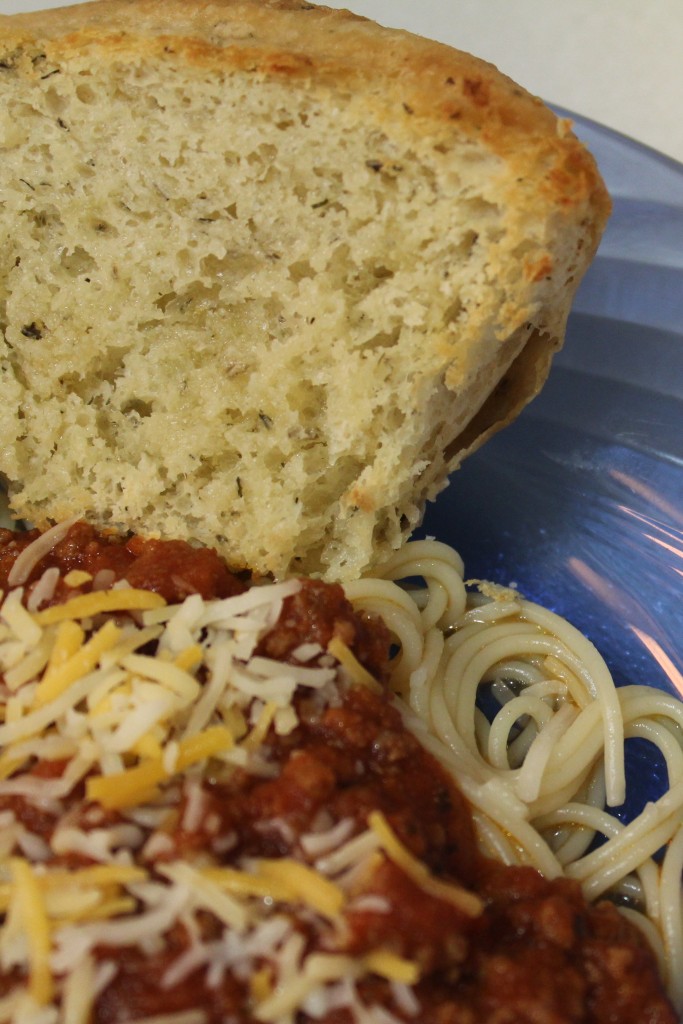
This is another adding things you like to a can/jar recipe that I learned from my sister. When comparing the price of tomatoes and tomato sauce vs. the price of a jar of spaghetti sauce, they’re not too far apart. This is perfect when you’re looking for a quick dinner. Week nights, I just don’t have the time (or inclination) to make spaghetti sauce from scratch. I use Angel Hair pasta because it cooks so much quicker.
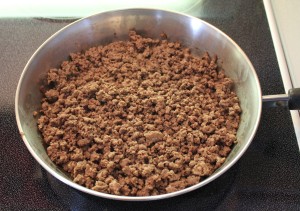
Browned Hamburger for Sauce
1-2 jars/cans of your favorite spaghetti sauce
1 lb. lean hamburger, browned
1 teaspoon of minced garlic per jar
¼ cup finely chopped onion per jar
Optional, if you need to make a little larger batch…
1 each 8 oz. can tomato sauce
¼ teaspoon Italian seasoning, oregano or basil
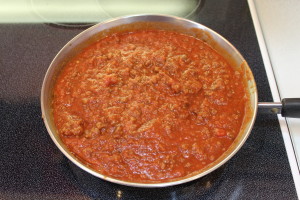
Spaghetti Sauce in Pan
Brown hamburger and onion in sauce pan. Drain off fat and any excess liquid. Add spaghetti sauce and minced garlic, then mix thoroughly. Heat on medium until heated clear through. That’s it. Quick and easy.
Now if you need a little more sauce, especially since the jars are no longer a full quart, add 1 each 8 oz. can of tomato sauce and ¼ teaspoon seasoning. This ratio works well for me. If I add 2 cans, I add ½ teaspoon seasonings.
If your sauce seems too runny, add a few plain instant potatoes and it will thicken right up without affecting the flavor.
Cooking isn`t an exact science. It`s all about combining flavors you enjoy. I pick recipes that sound good, then tweak them to my family`s tastes. I`ll never forget the summer of perfecting the Margarita, but that`s a story for another day.
I`ve tried many different salsa recipes over the years. This one I created several years ago. I used to pick up a couple of each pepper at the store and start chopping. My tastes have changed, so now I skip the Habanero and Serrano chilies. It`s hard to find flavorful fresh tomatoes locally, so for consistency, I start with a can of petite diced tomatoes. Be sure to refer to the Washing Vegetables and Fruit page under the Granny Knows section before you start chopping.
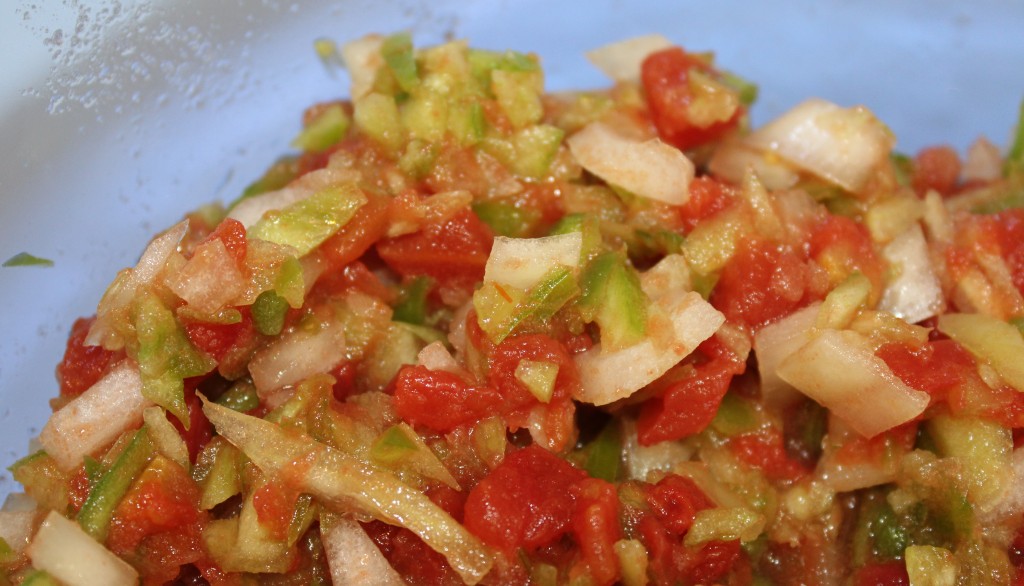
The following recipe starts off as Pico de Gallo, then with the addition of more tomatoes and sauce, it ends up as Salsa.
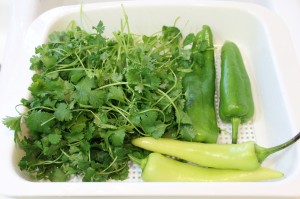
Washed Vegetables
1 14.5 oz can petite diced tomatoes (2 cans for salsa)
2 each Hatch green chilies
2 each Hungarian peppers (4, if small)
1 jalapeño or other hot pepper
2 bunches green onions or ½ cup chopped onions
1 cup cilantro leaves
1 teaspoon minced garlic
1 tablespoon lime juice
1 teaspoon olive oil
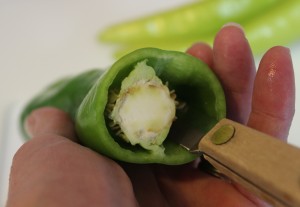
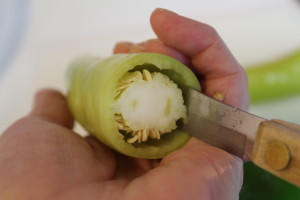
Put can of tomatoes in large mixing bowl. Add garlic, lime juice and olive oil. After washing peppers, onions and cilantro, let drain. Chop onions and add to bowl. Remove stem end of peppers. I remove the seeds. Some folks leave them in – it’s all a matter of preference. Personally, I don`t like getting pepper seeds stuck in between my teeth. Slice lengthwise.
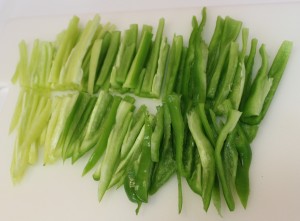
Peppers ready to chop
Next, cut Hatch and Hungarian peppers into narrow strips and chop (or put in your food processor to let it do the work for you.) Add to mixing bowl. Finely chop the jalapeño pepper and add a little at a time depending on how hot you like it. Stir well. Stop here and you have fresh Pico de Gallo.
For Salsa, continue by adding another can of tomatoes and an 8 oz. can of tomato sauce. I use the “no added salt” tomato sauce. Stir well. Store tightly covered in the refrigerator up to 5 days. Salsa always tastes better at room temperature, so let it warm up before serving.
This is a no-brainer for a good, filling supper on a cold night. I’m sure there’s hundreds of variations on this recipe. Brown the meat, and a few minutes later, pop it in the oven and you’re done. I usually use 93% lean hamburger, but any ground meat tastes fine – elk, turkey, chicken. This recipe can be easily doubled to make an 11″ x 17″ casserole. For one pound of meat, I use either an 8″ square or 8″ x 10″, 2 qt. baking pan.
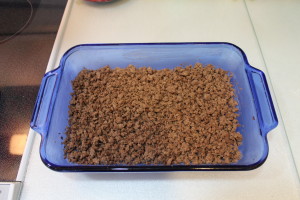
Meat first
1 lb. ground beef
1/4 cup chopped onion (optional)
Salt and pepper
1 10¾ oz. can Cream of Chicken soup
1 teaspoon minced garlic
2 tablespoons water
1 lb. tater tots, frozen
Preheat oven to 350°.
Chicken Soup Mixture Next
Brown ground beef in skillet. Sprinkle meat with salt and pepper to your taste as it is browning. Put chicken soup, water and garlic in a small bowl and mix well. [My oven heats up quickly. I start the oven at this point.] Drain fat from browned meat.
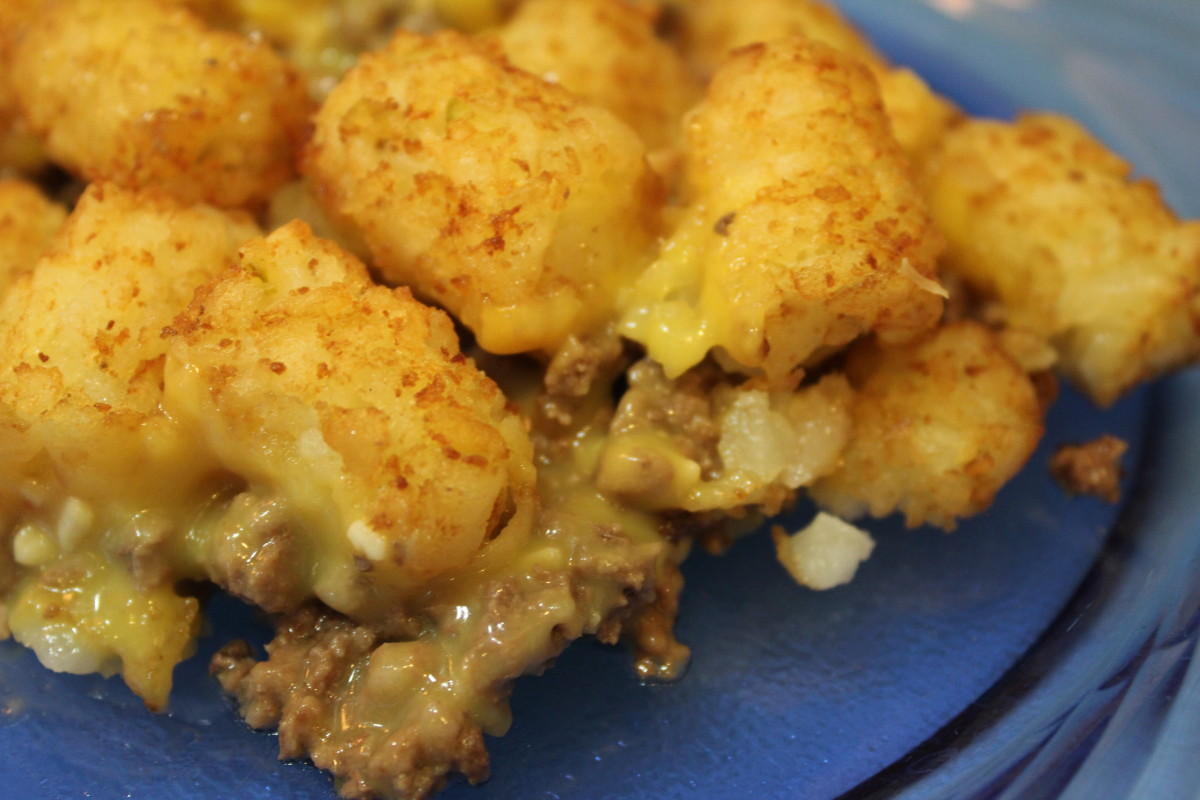
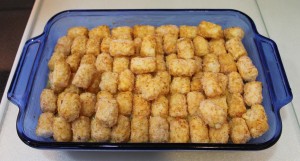
Tater Tots Last
Put in greased casserole dish and spread out to form a layer of meat on the bottom. Next, evenly spread the chicken soup mixture over meat. Top with frozen tater tots.
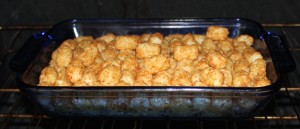
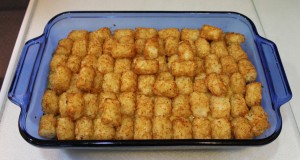
Bake at 350° for 45 minutes or so until tater tots are done and crisp.