Oatmeal Chocolate Chip Cookies

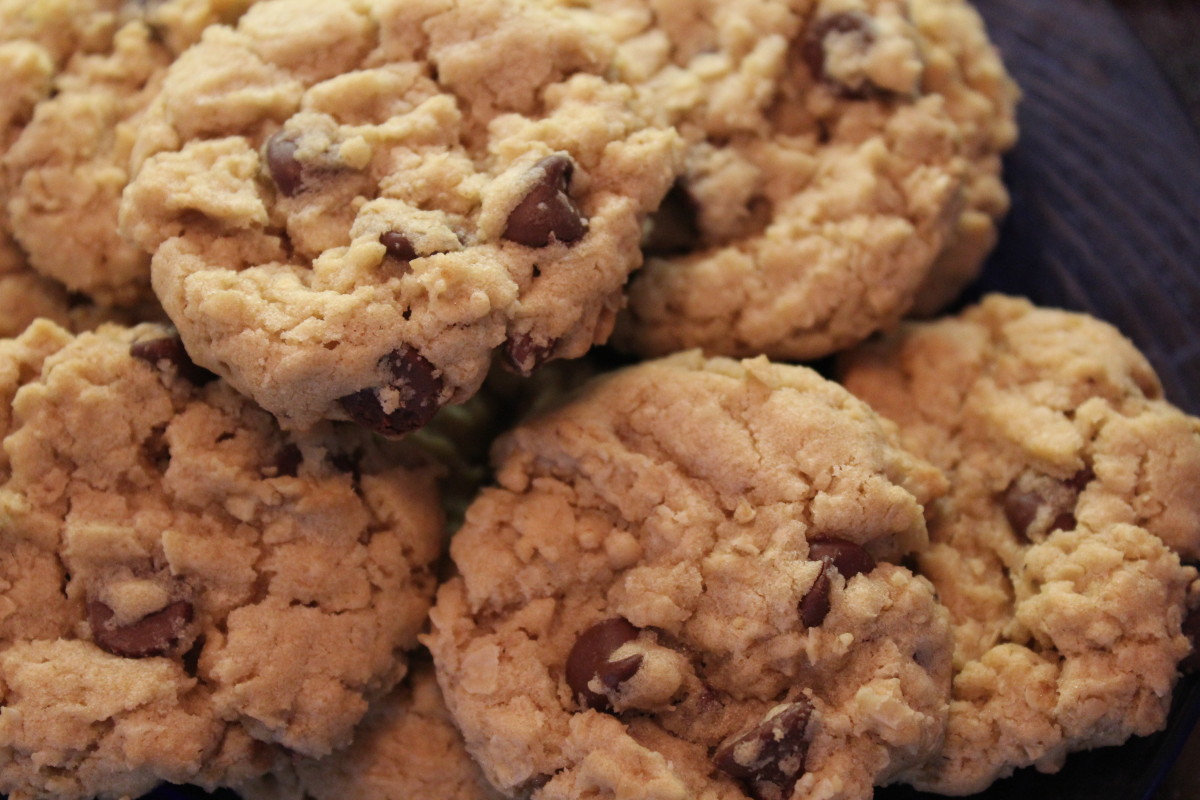
These are absolutely the best oatmeal cookies.  As with most of my recipes, this makes 5 – 6 dozen medium-sized cookies.  I don’t worry about them getting stale since every time I make them, a couple dozen or so leave with my son and grandson.  Tightly covered, this recipe does keep well in the frig.  You can bake a couple dozen today and bake the rest in three or four days.  If refrigerated, let the dough warm slightly on the cookies sheets before baking.

Oatmeal Chocolate Chip Cookies
Before Baking – Oatmeal Chocolate Chip Cookies

1 cup butter-flavored Crisco
1 cup brown sugar, firmly packed
1 cup white granulated sugar
1 teaspoon vanilla extract
2 large eggs
1¾ cups flour
1 teaspoon salt
1 teaspoon baking soda
3 cups quick cooking or regular rolled oats
1 cup chocolate chips*

Oatmeal Chocolate Chip
After – Oatmeal Chocolate Chip Cookies

*Or ½ cup chocolate chips and ½ cup chopped walnuts or pecans

*Or ½ cup white chocolate chips and ½ cup Craisins

*Or add ¼ teaspoon cinnamon when adding dry ingredients and 1 cup cinnamon chips at the end

Cream together butter, brown and white sugars until fluffy.  Mix in vanilla; then add eggs, one at a time, beating slightly after each addition. Do not over beat.

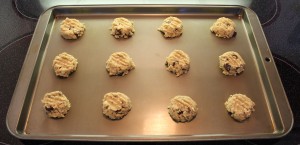
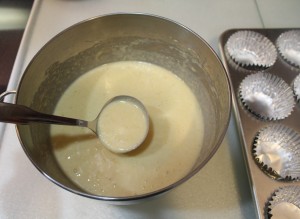
Add flour, salt and baking soda to the creamed mixture.  [If you want, combine dry ingredients in a separate bowl first.  I don’t waste my time with this step.  Why get another bowl dirty?  I sprinkle the salt and baking soda, then dump the flour and call it good.]  Mix well, then stir in chocolate chips.  Drop by teaspoonfuls about 2” apart on non-stick baking sheet.  [I actually use a small scoop instead of teaspoons.]  Flatten slightly with a fork.

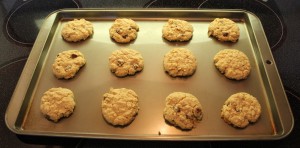
Bake in 350° oven 8 to 9 minutes.  Remove from oven to let finish cooking. Cool cookies on racks.

Chicken, Dumplings and Gravy

This is a great recipe for a chilly day.  I’ve changed up an old favorite to scale down for two to three people.  Let’s face it.  Leftover dumplings just aren’t any good.  I use reduced-sodium chicken broth so the gravy doesn’t get too salty.  Generally, I add a good sprinkle of salt to my plate.  It’s easier to add a little salt rather than have the whole batch too salty.

Chopped onions, celery, carrots

2-3 boneless skinless chicken breasts
2 each, 14.5 oz. cans chicken broth
½ cup chopped onion
½ cup chopped celery
½ cup chopped carrots
⅛ teaspoon black pepper
¼ teaspoon celery salt

Veggies and seasonings added to pan

1 cup milk
½ cup all purpose flour
Splash of Kitchen Bouquet

Put chicken in 5-6 qt. pan or stock pot.  Add broth, onion, celery, carrots and seasonings.
Bring to a boil.  Cover and reduce heat to medium low and simmer about an hour until chicken is tender.  If you use frozen chicken breasts, simmer about 1 ½ hours. Remove chicken from broth, put on plate.  Cover with the pan’s lid to keep warm.  Turn up the burner to medium high and bring the broth to a boil.  While it’s heating, put milk and flour in a pint jar and shake vigorously until mixture is smooth – no lumps.

Slowly add to the boiling broth.  Stir constantly with a whisk while returning it to a boil for 3 minutes.  Reduce heat to medium low and continue stirring for 5 minutes to cook the flour until the gravy begins to thicken slightly.  Add a generous splash of Kitchen Bouquet for a little flavor and to give the gravy a nice golden color. Stir well. Return chicken to the pan.

Dumplings starting to cook.

Chive Dumplings
1 cup flour
1 ½ teaspoons baking powder
½ teaspoon salt
1 tablespoon dried chives
⅛ cup (2 tablespoons) shortening or butter
½ cup milk

Using a pastry blender, cut in the shortening until well blended.  Add milk and stir as little as possible to make dough.

Dumplings are done.
Yippee! Dumplings are done.

Drop by tablespoons on top of the chicken pieces.  Simmer 10 minutes uncovered.  Put the lid on and simmer another 10-15 minutes or until dumplings are cooked and no longer doughy.  It may scorch a little, but don’t reduce the heat.  Otherwise, it will take forever to get the dumplings cooked.

Serve at once.

Chicken, Dumplings and Gravy Ready to Eat
Ready to Eat


©2016, My Granny Rocks | Janette Thornton. All rights reserved.

Spring has Sprung

Well, at last the days are beginning to get longer.  It’s been warm, in the 70’s, the past few days and the trees are beginning to bud out.  I love Spring as Mother Earth slowly awakens from her winter slumber.  The desert transitions from dusty brown to shades of green.  In April, the cacti will begin to bloom.  The desert high country is awesome with the vibrant splashes of color among the usually drab landscape.  Soon we’ll have dozens of baby quail running around the yard.  There’s so much to look forward to…

Quail Standing Guard

This year’s El Nino event has been disappointing.  I haven’t gotten much snow right here at my house.  I do so love the snow.  Most of all because it’s a change.  Everything, covered in a blanket of pure white, is so pretty.  I don’t have to shovel it – just wait a day or two and it’s gone.  However, looking out my kitchen window, I can see the snow covered mountains as I do dishes.  That will have to be enough for right now.

Spring fever is setting in.  I’ve been resisting the urge to plant my garden.  So often, we have that early spring snow that freezes everything for a day or two.  I’ve taken an inventory of my seeds, made a list of what I need to get and have roughly sketched out my garden layout for this year.  I’m thinking I’ll till the garden the first weekend of March, weather permitting.

I’m thinking of adding a few more beds.  We’ll see.  I try to grow enough for my family (and the rabbits.)  Keep checking back for garden updates.

Have a wonderful day everyone!


Granny’s Pork and Beans

My sister, Velma, was the queen of ‘doctoring up’ canned goods.  Having eight children, she was an expert at preparing quick and hearty meals to feed everyone.  I learned so much from her while hanging out in her kitchen…so many fond memories.  Okay, back to the beans.

I start with a can of plain, old, cheap, pork and beans – any brand works. (There’s never any pork in them anymore anyway.)  I pour off the liquid on top, then dump in a pan.  The measurements are approximate.

Granny's Pork and Beans
Granny’s Pork and Beans

I add the following:

1     teaspoon yellow mustard (or ¼  teaspoon dried mustard)
1     tablespoon catsup or ketchup, depending on where you live
1     tablespoon brown sugar
½   tablespoon dried, minced onions

Mix well, heat and eat. If you feel like beanie wienies, thinly slice a hot dog and toss it in. Be sure to heat long enough to thoroughly cook the hot dog.


Granpa’s Oatmeal

Granpa Ken
Granpa Ken

Okay. Let’s face it…it’s hard to make oatmeal photogenic. I did the best I could with it. So here’s my photogenic better half, Granpa Ken.

After several years of buying the instant oatmeal packets, Granpa came up with the following recipe for his morning oatmeal. He prepares jars of the dry ingredients ahead of time, so all he has to do is grab one for a quick hot breakfast.

From time to time, he changes it up with Craisins instead of raisins, all-spice instead of cinnamon, pecans in place of walnuts. You get the idea. Start with ½ cup of oats and add what you like.

Granpas Oatmeal
Granpas Oatmeal with Milk


½ cup quick oats
½ teaspoon brown sugar
¼ teaspoon cinnamon
1 tablespoon raisins
1 tablespoon chopped walnuts
1 tablespoon chopped dates
1 cup water
Splash of milk to taste


He heats the water using a measuring cup in the microwave for 2 minutes. Then, he adds it to the cereal bowl and mixes well. His next step is returning it to the microwave to finish cooking for about 35 seconds. Of course, cooking times depend on the wattage of your microwave.

Sometimes, he also uses old-fashioned oats for a little more chewy texture oatmeal. Actually, it depends on which kind of oats I have in the pantry.


Honey Mustard Sauce

We eat a lot of chicken at my house. This honey mustard sauce compliments fried, baked, and even grilled chicken. The amount I make depends on how many are showing up to eat. I’ve listed several quantity variations below. This also makes a wonderful, light salad dressing for your dinner salad, too. This is an old recipe with only four ingredients. I like recipes that are made with things I normally keep on hand. Can’t get much easier than this for a great tasting dipping sauce. It’s good on chicken sandwiches, on salad, it’s just plain good!

Easy to measure
Easy to measure

¼ cup mayonnaise
1 tablespoon prepared mustard
1 tablespoon honey
½ tablespoon lemon juice

In a liquid (glass) measuring cup or small bowl, mix the first three ingredients with a fork or small whisk. When thoroughly blended, stir in lemon juice. Store tightly covered in refrigerator. [I believe it will keep a week or two. We always use it up, so I’ve never tested how long it actually lasts.] If you want it a little thinner for salad dressing, add a bit more lemon juice to desired consistency.

Yields <½ cup.

Stored in a canning jar of course!

DOUBLED
½ cup mayonnaise
2 tablespoons prepared mustard
2 tablespoons honey
1 tablespoon lemon juice

Yields ¾ cup.

TRIPLED
¾ cup mayonnaise
3 tablespoons prepared mustard
3 tablespoons honey
1½ tablespoons lemon juice.

Yields 1 cup.


Sweet Cornbread Muffins

A long time ago, I discovered this recipe on the back of a box of cornmeal. You can get the best recipes from the packaging. I like a sweet cornbread. These are almost a cupcake. When I went to school, the cafeteria often served cornbread and syrup for lunch. Of course, this was back in the day when the food was prepared onsite by real lunchroom ladies in their white uniforms and hairnets.

Liquid ingredients
Liquid ingredients

1 ½ cups all-purpose flour
2/3 cup white granulated sugar
½ cup yellow corn meal
1 tablespoon baking powder
½ teaspoon salt
1¼ cups milk
2 large eggs, lightly beaten
1/3 cup vegetable oil [I use olive oil]
3 tablespoons butter, melted

Preheat oven to 350° F. Grease or paper-line 18 to 20 muffin cups. I get all the ingredients out before I start cooking. As I add the ingredient, I put it back away. I do this so I don’t forget anything as I’m easily distracted. On the farm, we always broke our egg in a small bowl before adding it as sometimes they weren’t good. Well, I’m back to doing that again after I’d gotten a bad batch of eggs at a local grocery store. I’ve thought about getting a few chickens, but I’d spend more in chicken scratch than I do for eggs, so it’s not feasible at this time. See? I do get easily distracted…okay back to the recipe.

Use a ladle to put in tins.

Combine flour, sugar, corn meal, baking powder and salt in a medium-sized mixing bowl. Combine milk, eggs, oil and butter in small bowl. I measure the milk in a two-cup liquid measuring cup; then add the other liquid ingredients as I measure them. Mix well. Add to flour mixture; stir/whisk until blended. I use a ladle to put the batter in the muffin pan, filling each about 2/3 full.

018
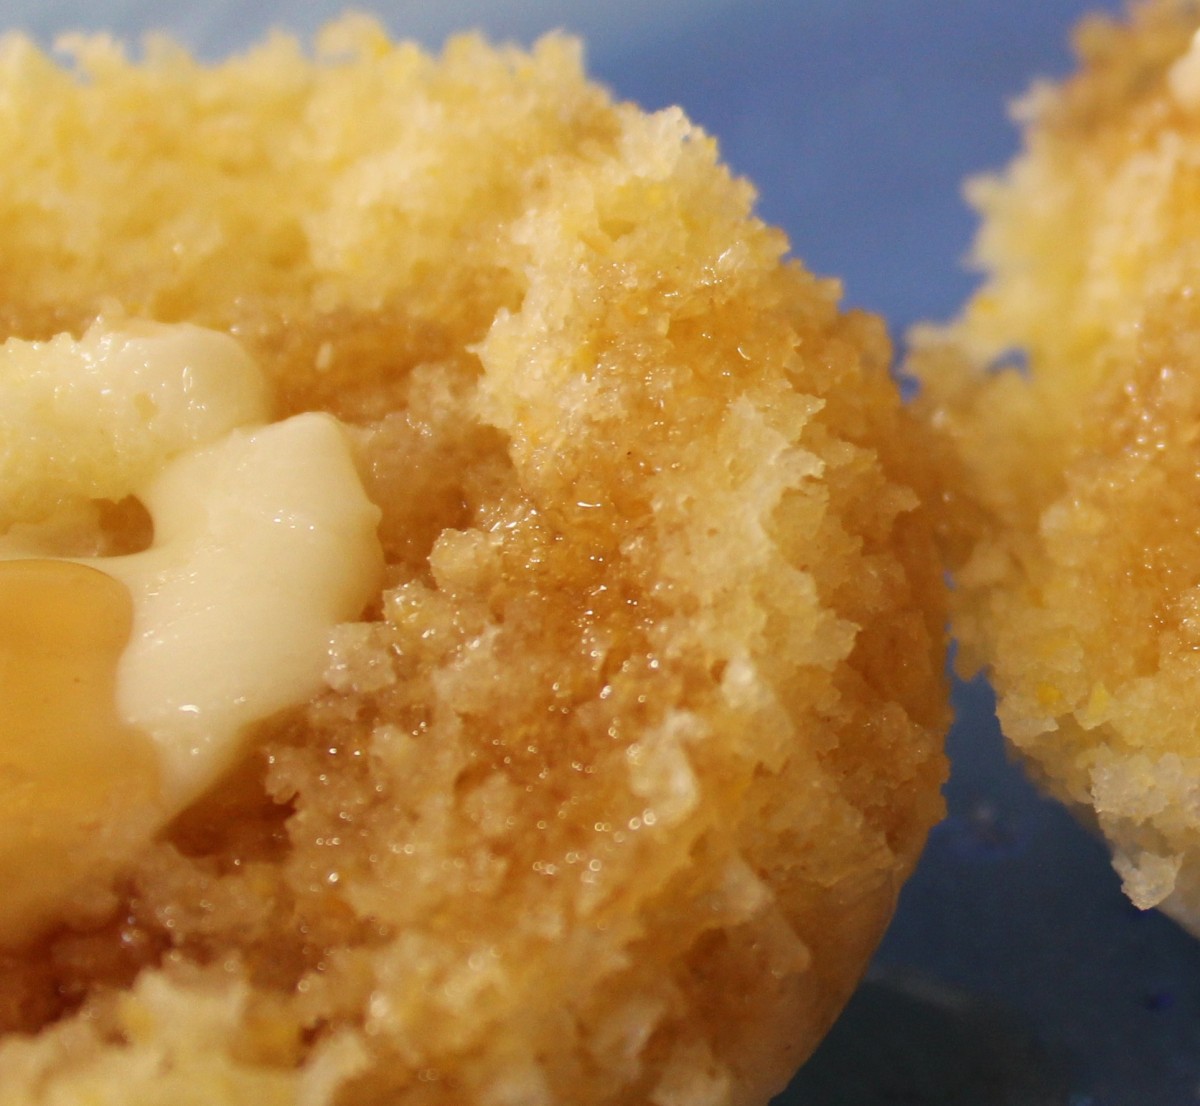
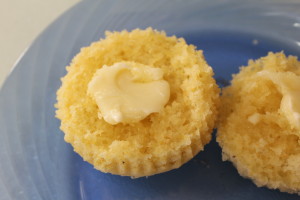
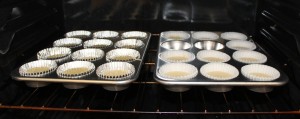
Bake for 18-20 minutes or until a wooden toothpick inserted in the center comes out clean. (Yes, I’m using brand new muffin tins, a wonderful gift I received this last Christmas from my son.) When you put the pans in the oven, be sure to leave spaces around the edges and center to allow the heat to circulate evenly. Cool in pans on wire racks for 5 minutes; then remove muffins to wire racks to cool slightly. Serve warm or store tightly covered when cool.

Perfection
Perfection
Buttered & ready to eat

Amazon Dash Buttons

I have just discovered the neatest thing – Amazon Dash Buttons.  In a nutshell, you buy a dash button, link it to the product you want, press the button and it’s shipped to you.  How cool is that?  Okay.  It does require a little setup.  If I can do it, anyone can.

Talk about ultimate convenience.  This option is great.  You don’t need to fire up the computer or search through apps on your phone.  One press and it’s done!  You get a confirmation email sent to your phone and by default, it won’t ship another order until the first one’s been shipped (unless you enable multiple shipments.) You can cancel your order from the confirmation email if you change your mind.

It’s available to Amazon Prime Members.  For a limited time, buy a button for 4.99 & get 4.99 off your order.  Here’s some links to dash buttons:


Continue reading “Amazon Dash Buttons”

Raising Children

Keeping him safe
Keeping him safe

The inspiration for this page came after reading yet another of those magazines that contained an article regarding how to raise a child. I thought, what’s the problem here? Don’t people realize how to raise a child anymore? There has been so much written as to be careful, don’t hurt your child’s feelings, don’t ever spank your child, don’t stifle their creativity, don’t do this, don’t do that, etc. Now look at our children, and sociey, in general, and see what we’ve created. I am aghast at what the youth of today do, are allowed to do, and are allowed to get away with. Why? Why do we, as adults, tolerate this behavior? Why is the unacceptable being forced down our throats until it becomes the accepted norm? Who is letting this happen? We are. As adults, it’s time we take charge of our fate and that of our children.

Children need rules. They need guidelines. They need consistency. They need to know that you mean business. What you say goes, without question or explanation. When my son was a toddler, I would tell him to do something and he would ask, “Why?” For several months, I would spend my time trying to explain the reason I wanted him to, for example, pick up his toys. Once I was at a friend’s house. (She happened to be an elementary school teacher.) She said, “If you don’t do something with his behavior, you’re really going to have trouble with him later on.” This remark took me by surprise. I asked what she meant. She said, “You’re the adult. Why are you trying to reason with a two-year-old? He should do what you tell him without explanation.” It was like someone had hit me with a ton of bricks. I hadn’t realized what I had been doing. He was my first child. For the first two years of his life, I had read the baby magazines, read Dr. Spock, read everything I could get my hands on regarding how to raise a child. I wanted, so badly, to raise him to be the best kid ever. How could I have let this happen? Continue reading “Raising Children”

Easiest Macaroni Salad Ever

Coat every piece!
Coat every piece!

There’s hundreds of macaroni salad recipes out there.  This is truly the easiest.  It’s something I tried one day and, believe it or not, my family ate it!  I started with a few handfuls of pasta.  [You can use any kind you have on hand.]  Cook as directed on the package.  Rinse well with cold water to stop the cooking process.  Let drain.

Can't wait to dig in.
Can’t wait to dig in.

Finely chop a little bit of whatever your family likes to eat – carrots, dill pickles, celery, onion, black olives and mix with the pasta.  Add enough ranch dressing to coat everything and mix well.  [I always make my ranch dressing fresh.  I have no use for bottled ranch dressing, regardless of brand; it doesn’t even taste like ranch.]

Chill an hour or so and it’s ready to eat.

The kids love it because of the ranch dressing.

I love it because they eat it.