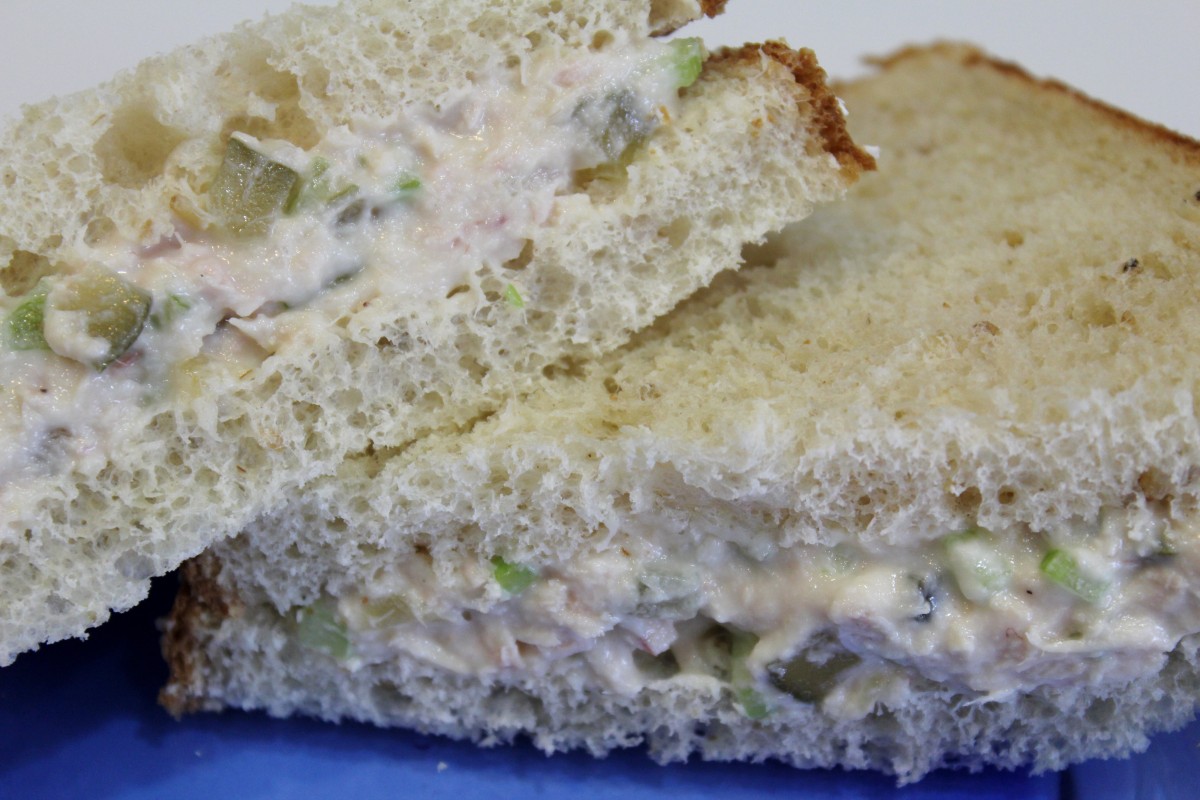
When I grew up, tuna mixed with mayo was considered tuna salad. Not long after I joined the workforce, someone had brought in tuna salad sandwiches for an office lunch. First time I’d ever had tuna salad with something other than tuna and mayo. It was pretty good, so I started trying adding different things. I like lots of crunch, so I use equal parts of celery and sweet pickle with a little onion.
I’ve been using the mayonnaise made with olive oil for several years now. It took a little while to get used to – just not as crisp a taste as regular mayo. I started using a splash of lemon juice to add flavor.
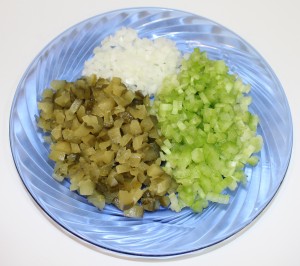
Chopped celery, onion and sweet pickle
2 cans tuna, white albacore in water
¼ cup onion, finely chopped
1 stalk celery, chopped
2 large sweet pickles, chopped
½ cup mayonnaise
splash of lemon juice
dash of pepper
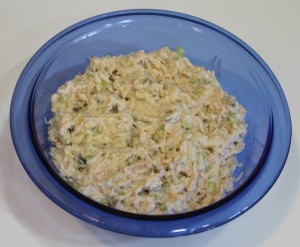
Drain liquid from tuna. Put in small bowl and flake with a fork. Mix onion, celery and sweet pickle with tuna. Add mayonnaise, splash of lemon juice and a generous sprinkling of pepper. Mix well. Store tightly covered in refrigerator until thoroughly chilled.
This is the best sugar cookie recipe I’ve found. I had originally discovered the recipe in A Taste of Home/Reader’s Digest Book (2007) The Taste of Home Cookbook. Greendale, WI: Reiman Media Group, Inc.
There’s no need for me to type it all out if it’s already available online. Not wanting to potentially violate any copyright laws, the original recipe can be found at:
A few things I did differently are:
With the cookie dough, I used butter-flavored Crisco instead of butter. As usual, I put the dry ingredients directly in the dough mixture. I used a small scoop (tablespoon size) and baked the cookies for 9 minutes, then let them finish cooking on the baking sheet. I ended up with 42 cookies.
Frosting the Cookies
With the frosting, I did use butter. 3 tablespoons of hot water worked well for me. Once the frosting is mixed, you have to work quickly as it does form a thin crust on top. I sprinkled a little colored sugar on a few of the pink ones. After tasting, I decided they’re sweet enough.
Store with waxed paper between layers
I store the cookies tightly covered; placing sheets of waxed paper between the layers. (The frosting does form a crust, but stays soft.) Using the waxed paper keeps the lower layers looking nice.
I woke up early yesterday; impatiently waiting for the sun to come up so I could get out in the garden. A few high clouds made for a beautiful sunrise. As I was waiting, I made cookies that I’ll post later this week.
I love playing in the dirt. I guess that’s the farm girl in me coming out. Fresh produce is so good. It seems wrong to pay over $2.50 for an 8 oz. bag of salad spinach. Salads are a summertime staple at my house. Who want’s to heat up the kitchen when it’s 100° in the shade?
Gardening in Arizona is somewhat a challenge. As I remember, Iowa gardening was so much easier. Till the ground; plant the seeds; pull weeds now and then; water if it doesn’t rain; then sit back and watch it grow. The soil was rich with nutrients. As my dad, a life long farmer, said about Arizona when he came to visit, “This ground ain’t good for nothing. Too rocky to grow anything.”
Garden’s been tilled.
Over the years, I’ve tried various methods with limited success, gardening in bags (soil got too hot and cooked the roots), gardening in tubs (had great tomato plants, but the fruit didn’t set), and rows (planted & replanted several times. Darn chipmunks and kangaroo mice kept digging up and stealing the seeds. If something did sprout, the rabbits got it.) Our backyard is enclosed by 3′ chain link, with chicken wire around it and overlapping the gates. The rabbits hop over the fence like it’s not even there. We put up blocks in one corner to help with the critters and the hot summer winds.
First lizard of the season. It’s a bit chilly this morning, so he’s moving slow.
Well, a garden is possible – if you cage your area and enrich the soil by adding peat moss, compost, perlite, etc. into the ground. I have a small garden area and plant in a modified square foot format. Each year, we continue to add garden soil and compost. Eventually, I’ll get the soil where I want it.
Onion sets, radishes, carrots, green beans, spinach and romaine lettuce hit the dirt yesterday. Today, we’ll be expanding the garden a few more square feet on the left side of the wall for full sun. Zucchini and yellow squash have to been in full sun to avoid aphids and they don’t mind the high winds. Tomato plants, zucchini, yellow squash and cantaloupe are on today’s agenda.
Garden Planted and Caged
I’ll provide weekly updates on my garden, perhaps more often after it starts to grow.
This is an easy recipe, but definitely not quick since it takes time to chill. I usually make it the night before I plan on serving it. I came up with this recipe by combining the best of a couple recipes I liked. The sour cream gives a little tarter flavor than using cream cheese alone. If you don’t have any sour cream, leave it out and it’ll still taste good.
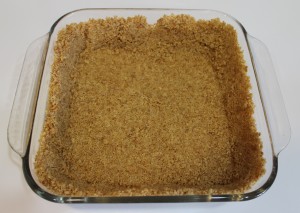
Graham cracker crust ready for filling
1 prepared graham cracker crust, in 2 qt. pan, See Graham Cracker Crust recipe under Granny JJ’s Recipes.
1 3 oz. package of lime Jello
1¼ cup boiling water
1 8 oz. can of crushed pineapple, optional
1 8 oz. package of cream cheese
1 cup sour cream
½ teaspoon vanilla
3 tablespoons sugar
I put the graham cracker crust in the freezer to chill until I’m ready to use it. Here in Arizona, nothing cools quickly. Trust me on that.
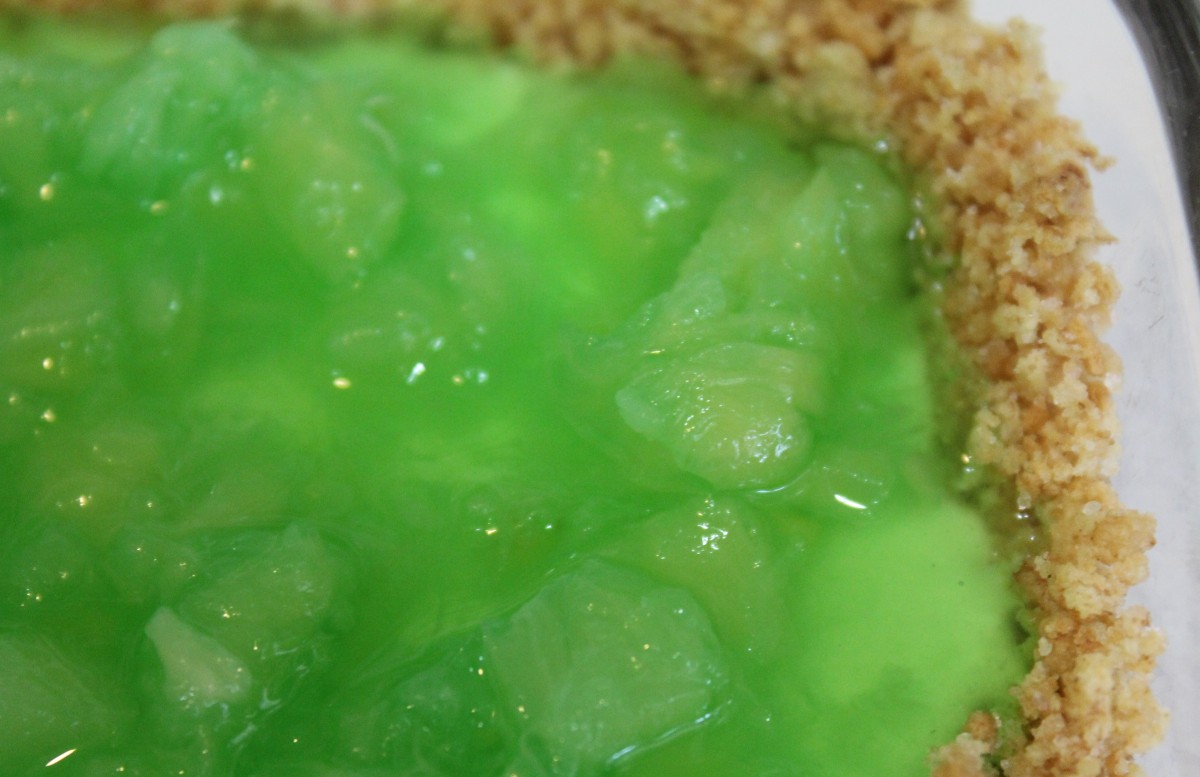
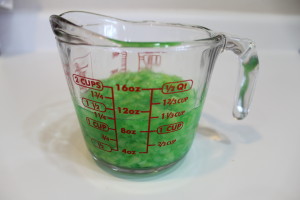
Reserved jello with pineapple
Dissolve jello in boiling water. Stir for at least 2 minutes to make sure jello completely dissolves. Drain syrup from the can of pineapple into jello. Put in freezer to cool.
In mixing bowl, blend cream cheese, vanilla and sugar together until creamy. [This allows the jello a little time to cool in the freezer.]
Reserve ½ cup jello in a glass measuring cup. Add drained pineapple to this reserved jello. Set aside on countertop.
Do NOT refrigerate.
Cream cheese and sour cream blended
On low speed, slowly blend jello with cream cheese mixture until thoroughly mixed.
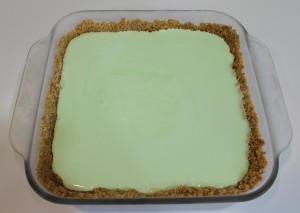
Increase mixer speed to medium as mixture slightly thickens. Add sour cream. Continue mixing on medium speed until smooth. Pour into prepared crust. Chill until set (about 45 minutes.)
Chill until set
At this point, I set a timer and go on about my day. If it sits longer in the frig than 45 minutes, that’s okay – just don’t forget about it completely. If you do forget it for a few hours, I’d toss the reserved jello and pineapple mixture and serve as is.
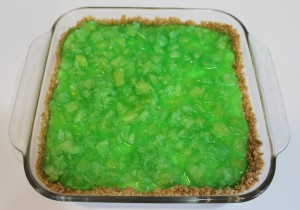
Pineapple Lime Desert – Ready to Chill Until Firm
Pour/float reserved jello mixture on top. Chill until firm.
Substitutions:
Lime jello and pineapple can be replaced with orange jello and shredded carrots or leave out the pineapple and use whatever flavor jello you have on hand. It’s all good.
1 package graham crackers, plain or honey
1/2 cup butter, melted*
1/3 cup sugar
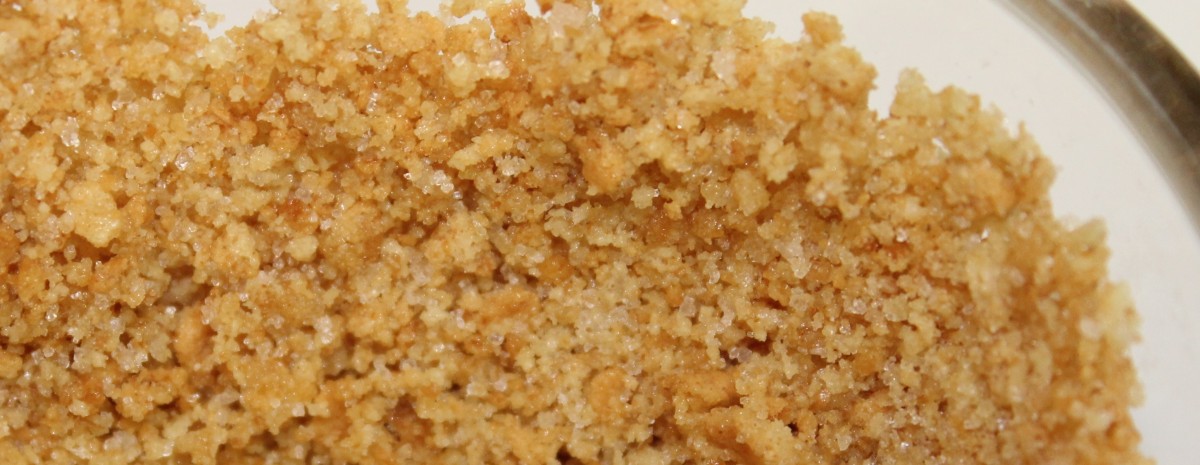
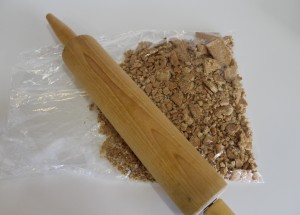
Crush graham crackers with rolling pin or by pulsing in your food processor. [I put the crackers in a plastic bag and crush them. It’s easier than digging out my processor or blender.] Transfer crumbs to a 2 qt. pan. Add sugar. Stir to distribute sugar evenly throughout crumbs. Add butter. Mix well. Firmly press cracker mixture against sides and bottom with spoon or spatula. This recipe is enough to make a 1/4 thick crust on bottom and sides of a 2 qt. pan.
Graham cracker crust ready for filling
* I actually use 1/4 cup butter to reduce the saturated fat. The resulting crust doesn’t hold together as well since it’s not as firmly packed, but tastes just fine.
Depending on what filling you have in mind, cinnamon graham crackers can also be used for a little different taste.
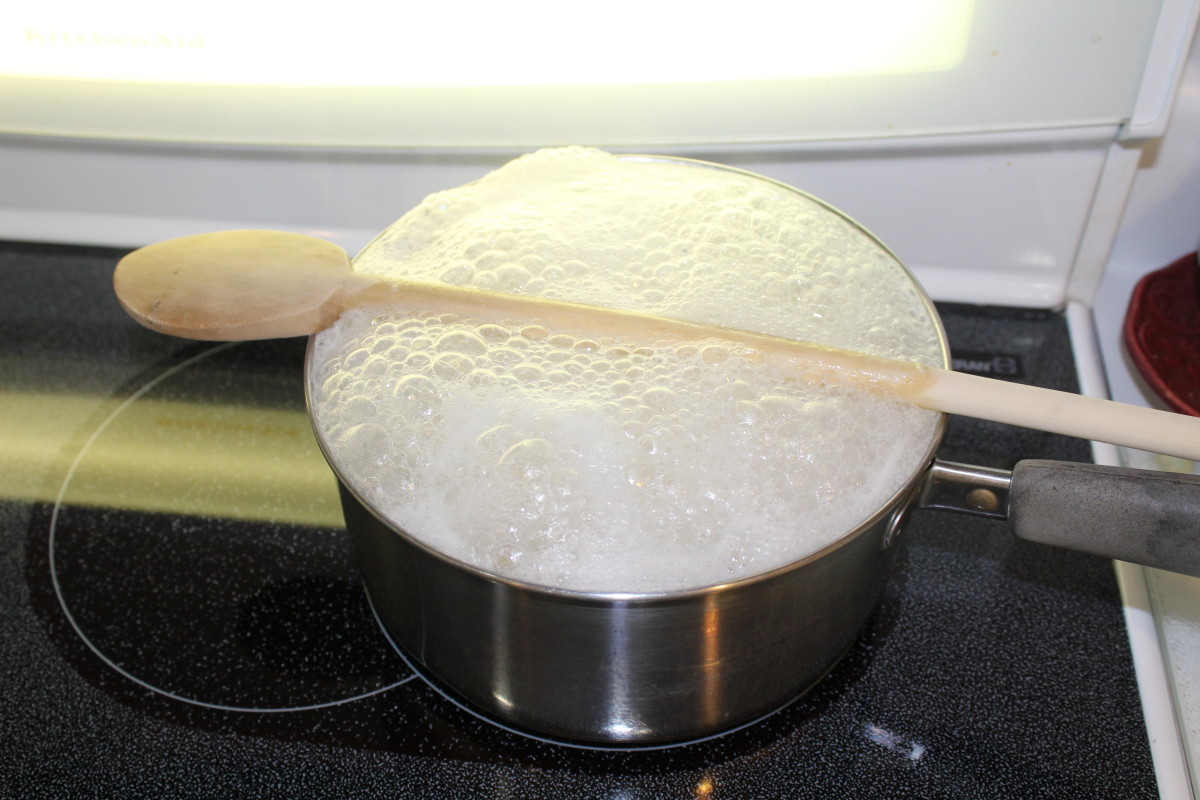
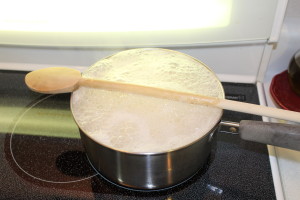
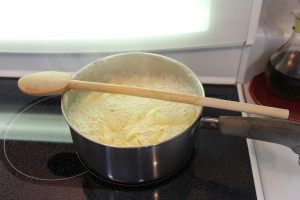
You may have already heard this and wondered whether or not it works. Well, a wooden spoon placed across the top of the pan does prevent starchy foods, such as potatoes and noodles, from boiling over, for a time anyway. You know how the smell of something boiling over takes over the kitchen? It totally wipes out the smells of all the other good foods, so I avoid it as much as possible. When I’m in the kitchen, I’m usually distracted with preparing something else while the potatoes or noodles cook.
Wooden spoon works
Using a spoon across the top of the pan does buy enough time for me to reduce the heat without a mess. This is one of those tips that’s now became a habit. I still have to keep an eye on the pan, just not as close as before.
Now, I never boil anything without a spoon. It works!
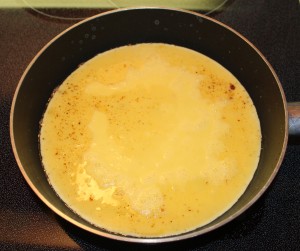
Contrary to popular belief, light and fluffy eggs are easy to make. These definitely aren’t my parents’ eggs. Whenever I fry bacon, I save some of the grease to use for cooking the eggs. [I keep a half pint jar of bacon grease in the frig to add a little splash of flavor to other recipes, too.]
Eggs starting to cook.
2 tablespoons bacon grease
3-4 eggs
1 tablespoon milk for each egg
Lawry’s seasoning or table salt
Pepper
American cheese slices or shredded cheddar cheese
Chives, optional
Melt bacon grease in saucepan over medium high heat.
Seasonings added
Combine eggs and milk in bowl.
Beat with fork or whisk until very well blended.
Pour into preheated saucepan.
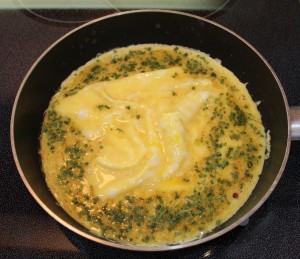
Sprinkle generously with salt, pepper and chives.
Let sit and cook a few moments.
Gently push eggs around with spatula.
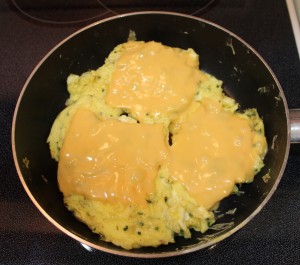
When nearly set, flip to finish cooking.
Put cheese slices on eggs.
Push edges to center while cooking.
Turn off burner.
Cover pan and wait a few seconds for cheese to melt.
Serve immediately.
American cheese melts quickly.
The shredded cheddar takes a bit longer.
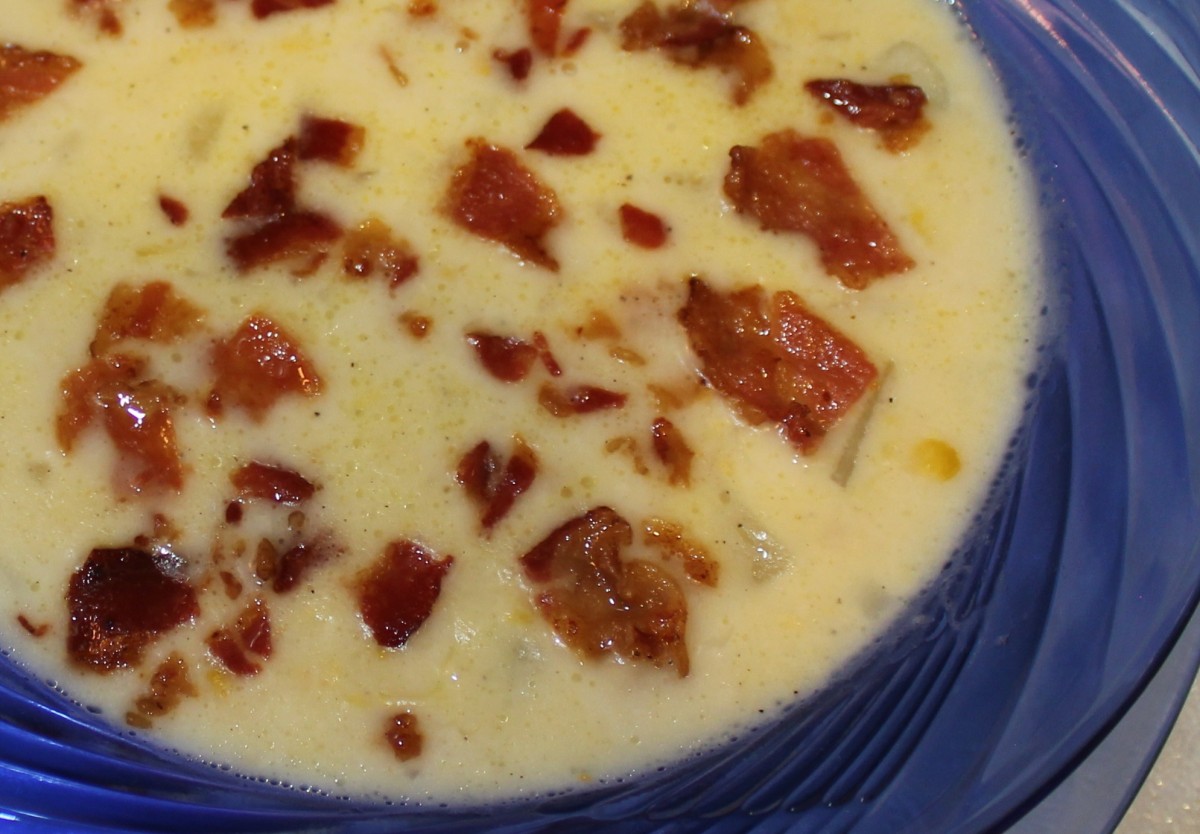
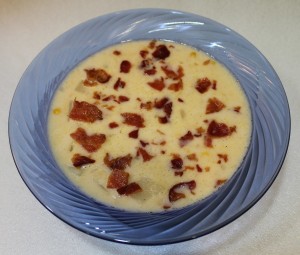
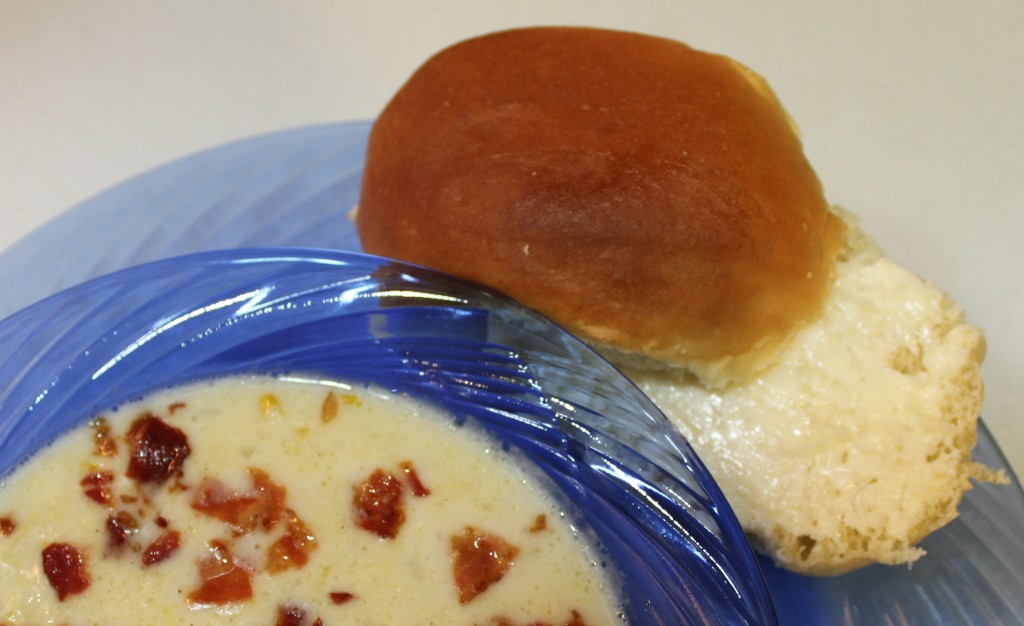
Potato soup generally isn’t real exciting. This recipe will change your mind. One day, I didn’t feel a trip to town just for fresh milk, so as I was tweaking this recipe I substituted evaporated milk. Wallah! This soup has a pleasing, smooth, sweet taste. Pair with Honey/Slightly Wheat Buns for a great meal.
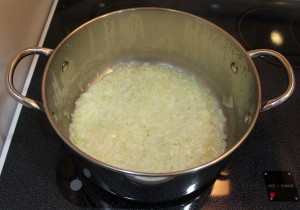
Saute Onions
1 medium onion, chopped
¼ cup butter
1 can (14-3/4 oz.) chicken broth
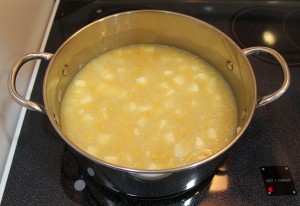
2 cans (14-3/4 oz. each) cream-style corn
4 potatoes, peeled and cut into ¼ – ½” cubes
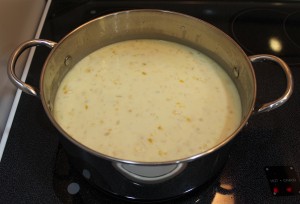
1 can (12 oz.) evaporated milk
¼ cup water
¾ teaspoon salt
½ teaspoon pepper
Potatoes and Corn added
Optional – 4 strips bacon, cooked & chopped
In stock pot, sauté onion in butter until tender. Add broth, water and potatoes; bring to a boil. Add corn. Reduce heat; cover and simmer for 15 minutes or until potatoes are tender. Reduce heat to low.
Stir in milk, salt and pepper. Cook over medium heat for 10 minutes until heated through, stirring occasionally.
Stir in bacon for a nice flavor boost or sprinkle on top of individual serving bowls.
Milk and Seasonings addedPotato and Corn ChowderHoney Bun with Potato and Corn Chowder. Soup’s on. Let’s Eat!
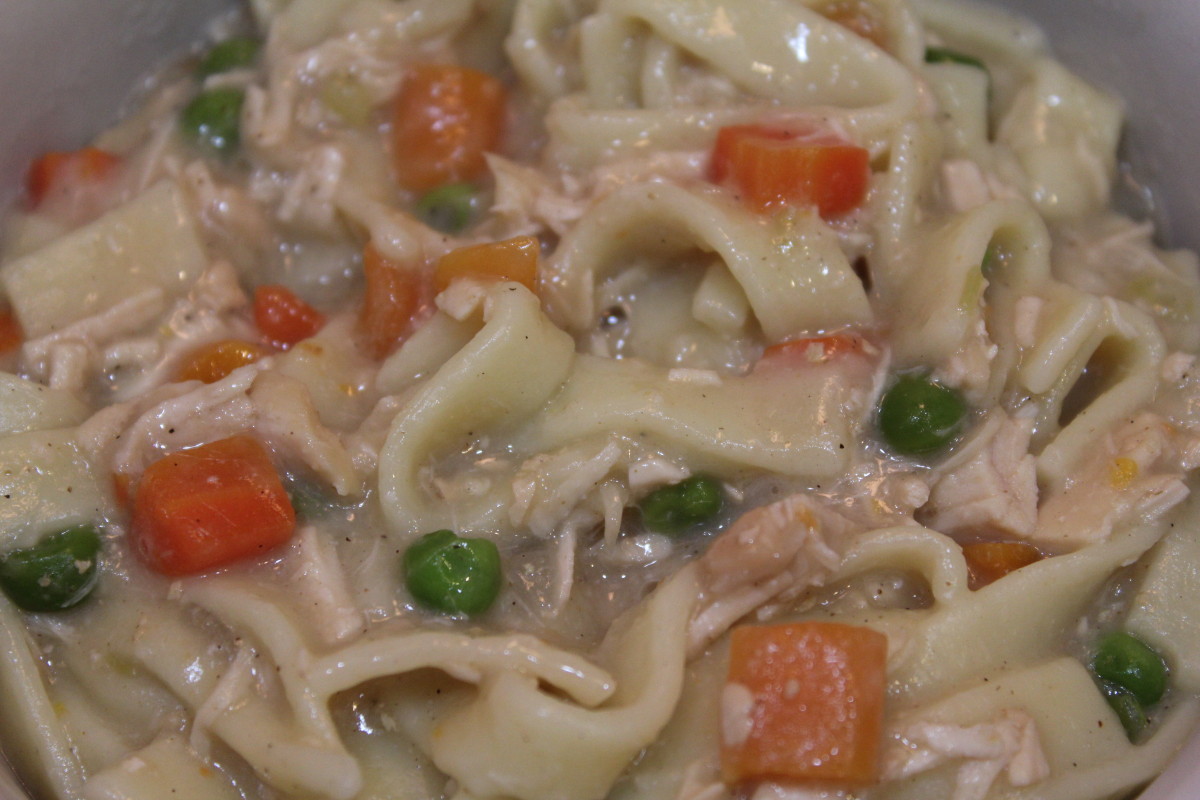
I was a bit under the weather yesterday, so I turned to an old standby. Nothing makes you feel better than a piping hot bowl of chicken noodle soup. True comfort food. This one starts with a can of chicken broth. It’s easy to double this recipe and throw in more of what you like.
Creamy Chicken Noodle Soup
1 boneless chicken breast, raw* or cooked, cubed or shredded
1 14.5 oz can chicken broth
1 large carrot, chopped
1 celery stalk, finely chopped
¼ cup chopped onion
1 teaspoon minced garlic
¼ teaspoon pepper
¼ teaspoon celery or garlic salt
3 large handfuls(cups,) uncooked noodles
1 cup milk
½ cup flour
1 cup frozen peas
Salt and pepper, to taste
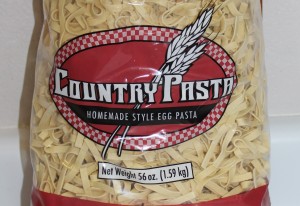
Country Pasta Noodles
Combine chicken, broth, carrot, celery, onion, garlic, pepper and celery salt in large pan. Cover and bring to a boil. Reduce heat and let simmer while the noodles cook. In another saucepan, cook noodles as directed, then drain. I love these Country Pasta noodles. They’re the closest thing I’ve found to homemade. *If using raw chicken, boil in broth until tender, then add carrot, celery, onion, garlic, pepper and celery salt.
Combine milk and flour in jar. Shake well until no lumps remain. Whisk into soup. Return to boil for 5 – 8 minutes, stirring constantly to cook flour and thicken. Reduce heat to medium low. I don’t like mushy peas, so I add them now with the drained noodles. Heat, stirring occasionally, for a few minutes until peas are cooked.
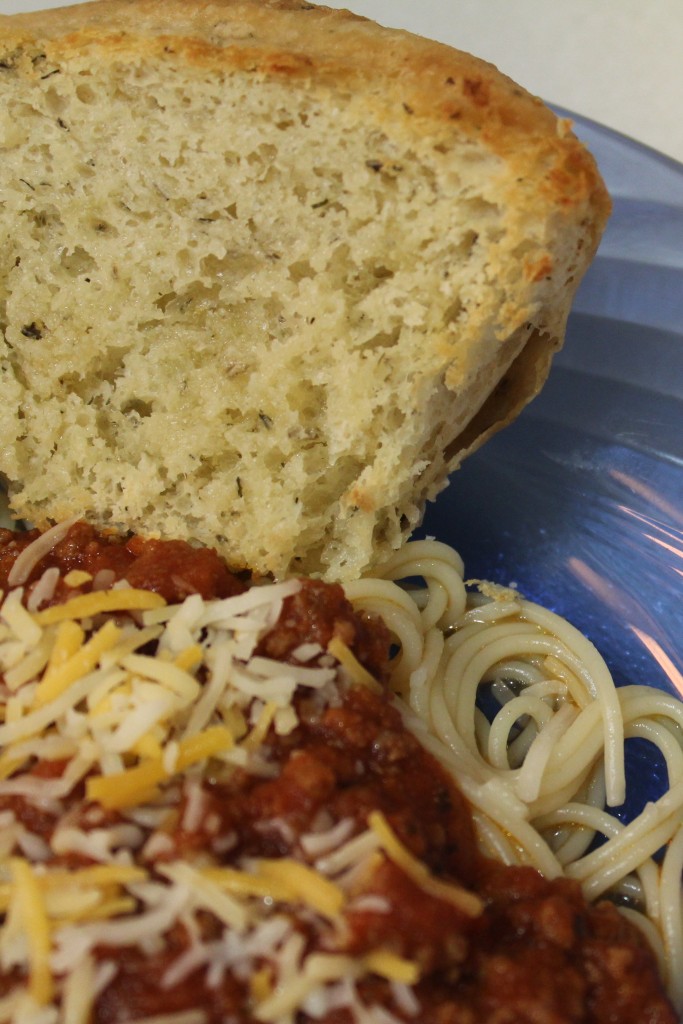
This is another adding things you like to a can/jar recipe that I learned from my sister. When comparing the price of tomatoes and tomato sauce vs. the price of a jar of spaghetti sauce, they’re not too far apart. This is perfect when you’re looking for a quick dinner. Week nights, I just don’t have the time (or inclination) to make spaghetti sauce from scratch. I use Angel Hair pasta because it cooks so much quicker.
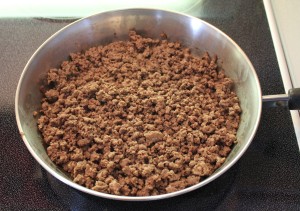
Browned Hamburger for Sauce
1-2 jars/cans of your favorite spaghetti sauce
1 lb. lean hamburger, browned
1 teaspoon of minced garlic per jar
¼ cup finely chopped onion per jar
Optional, if you need to make a little larger batch…
1 each 8 oz. can tomato sauce
¼ teaspoon Italian seasoning, oregano or basil
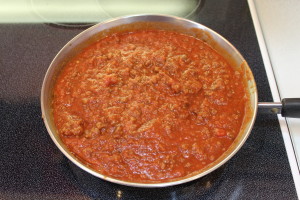
Spaghetti Sauce in Pan
Brown hamburger and onion in sauce pan. Drain off fat and any excess liquid. Add spaghetti sauce and minced garlic, then mix thoroughly. Heat on medium until heated clear through. That’s it. Quick and easy.
Now if you need a little more sauce, especially since the jars are no longer a full quart, add 1 each 8 oz. can of tomato sauce and ¼ teaspoon seasoning. This ratio works well for me. If I add 2 cans, I add ½ teaspoon seasonings.
If your sauce seems too runny, add a few plain instant potatoes and it will thicken right up without affecting the flavor.